
Last updated November 14, 2026
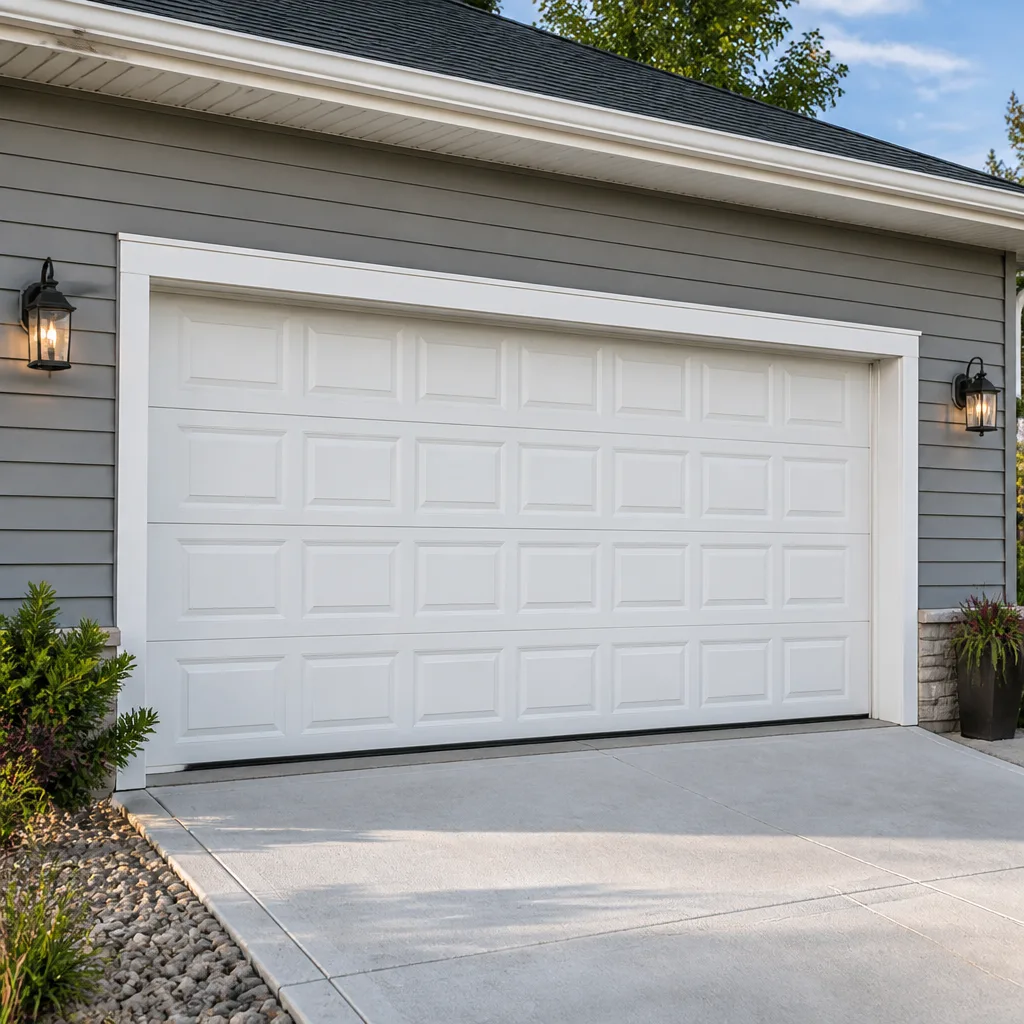 Raised-panel steel
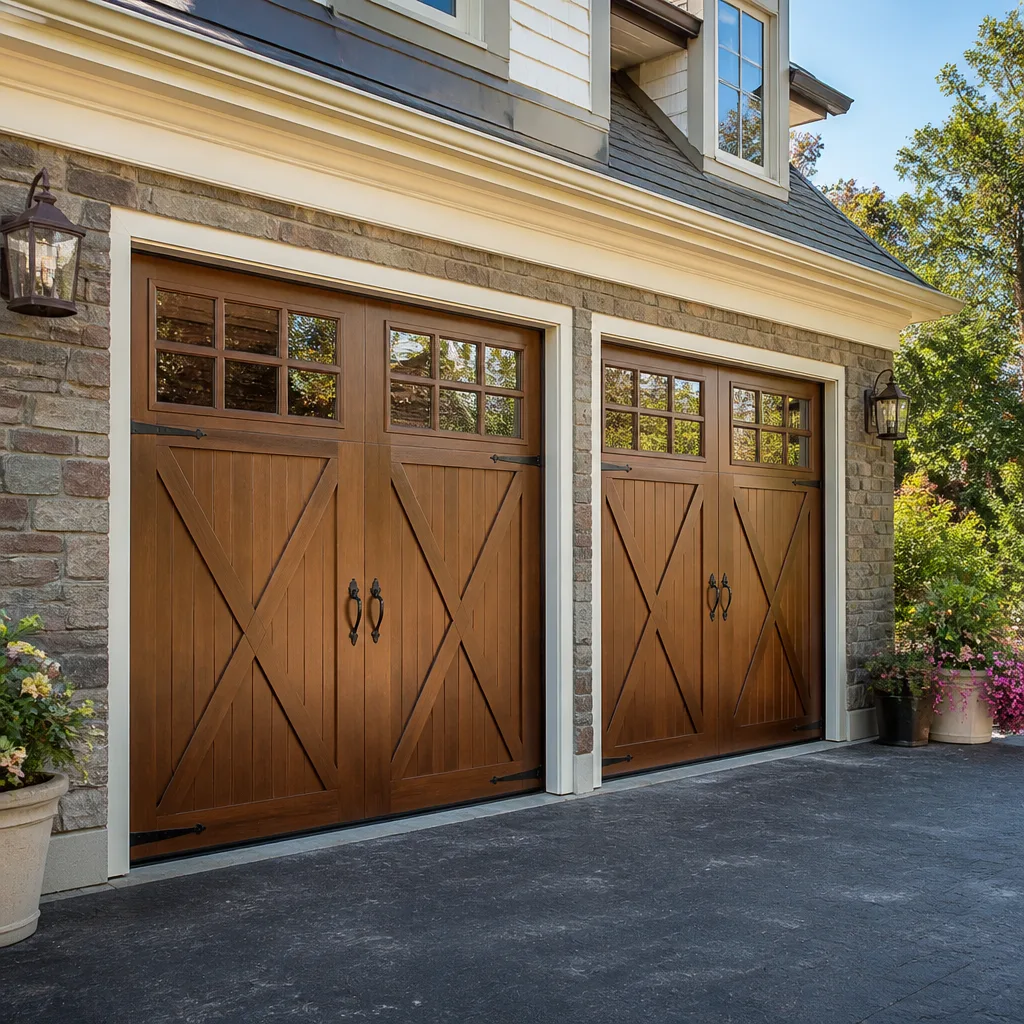 Carriage house
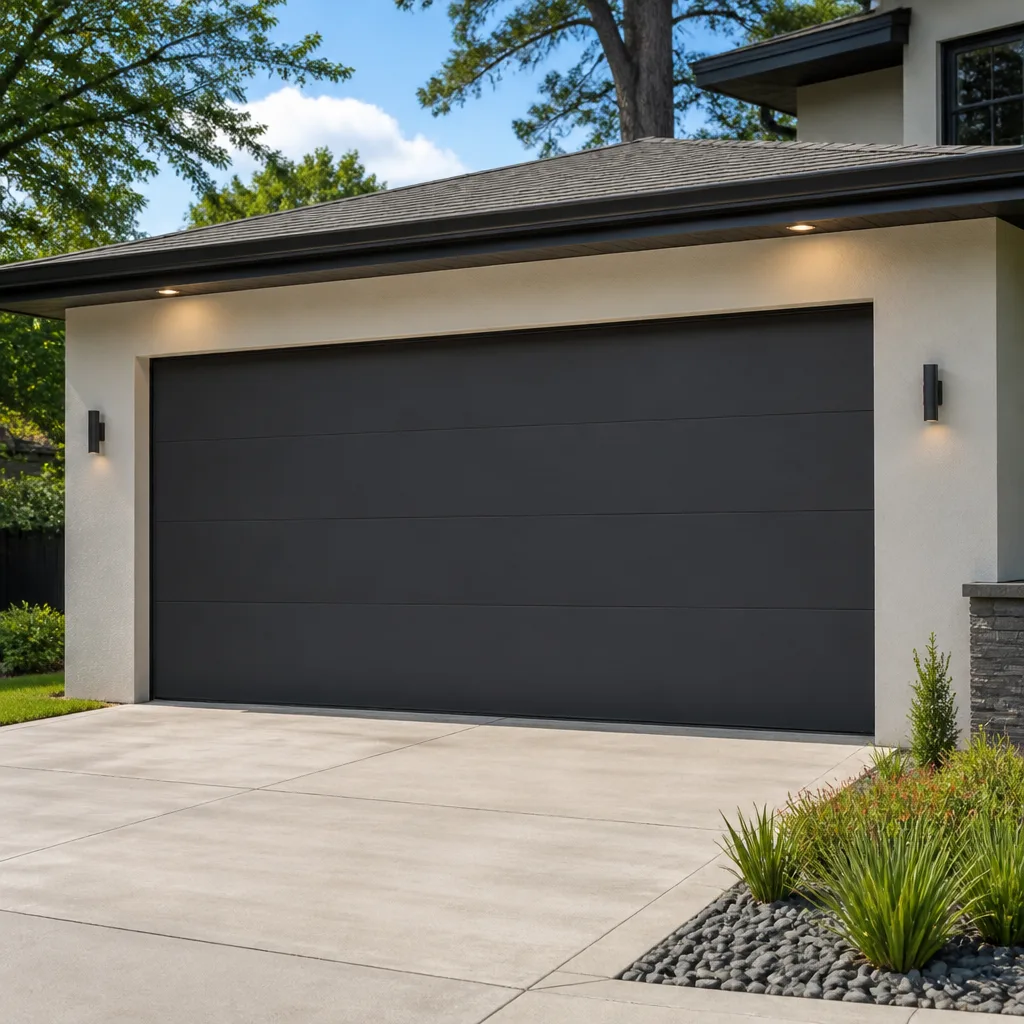 Modern flush
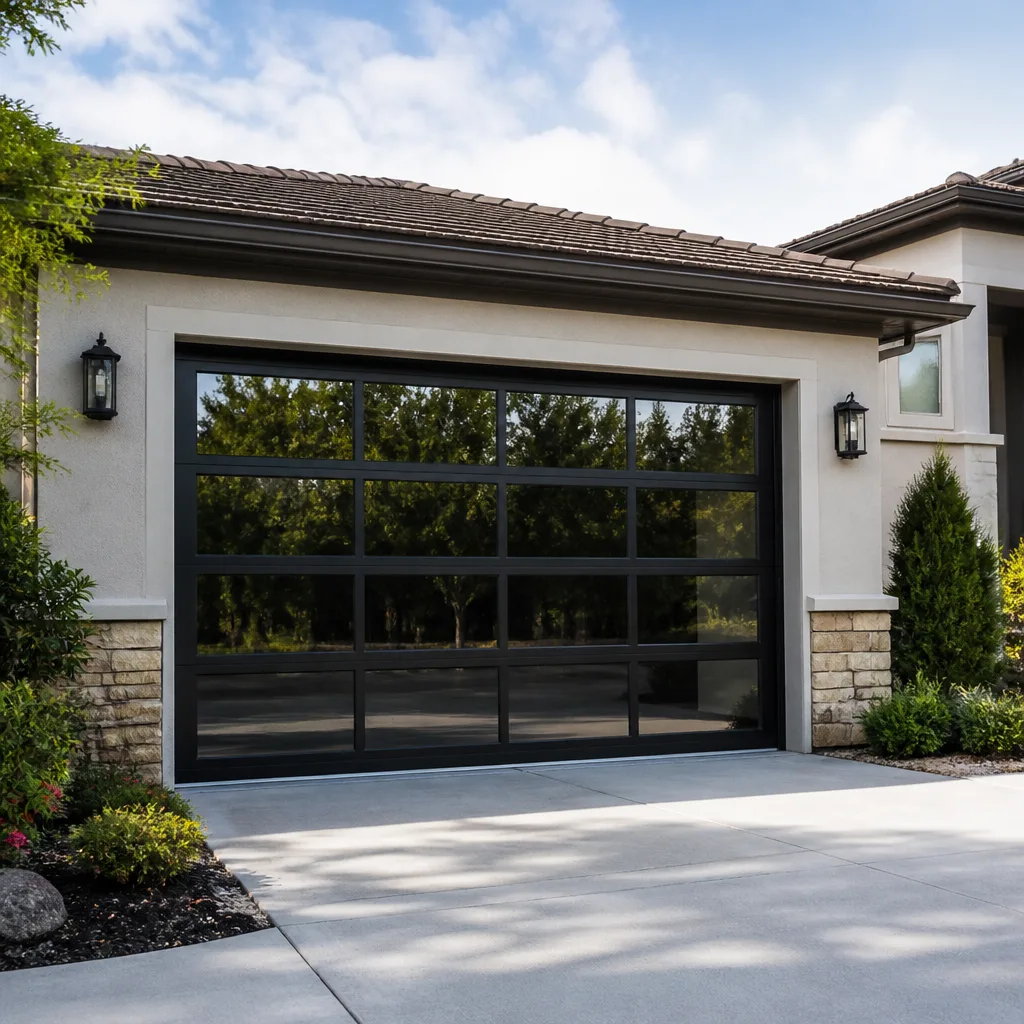 Full-view glass
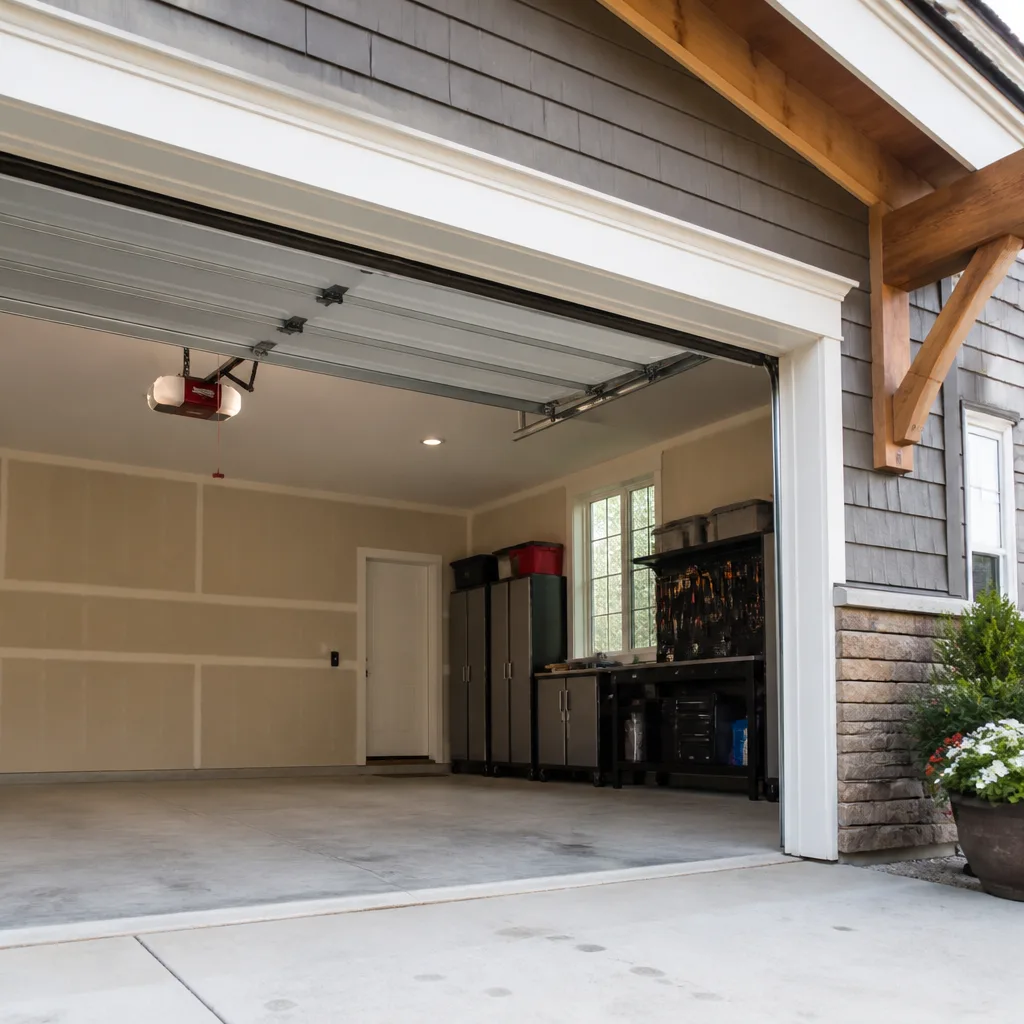 LiftMaster openers
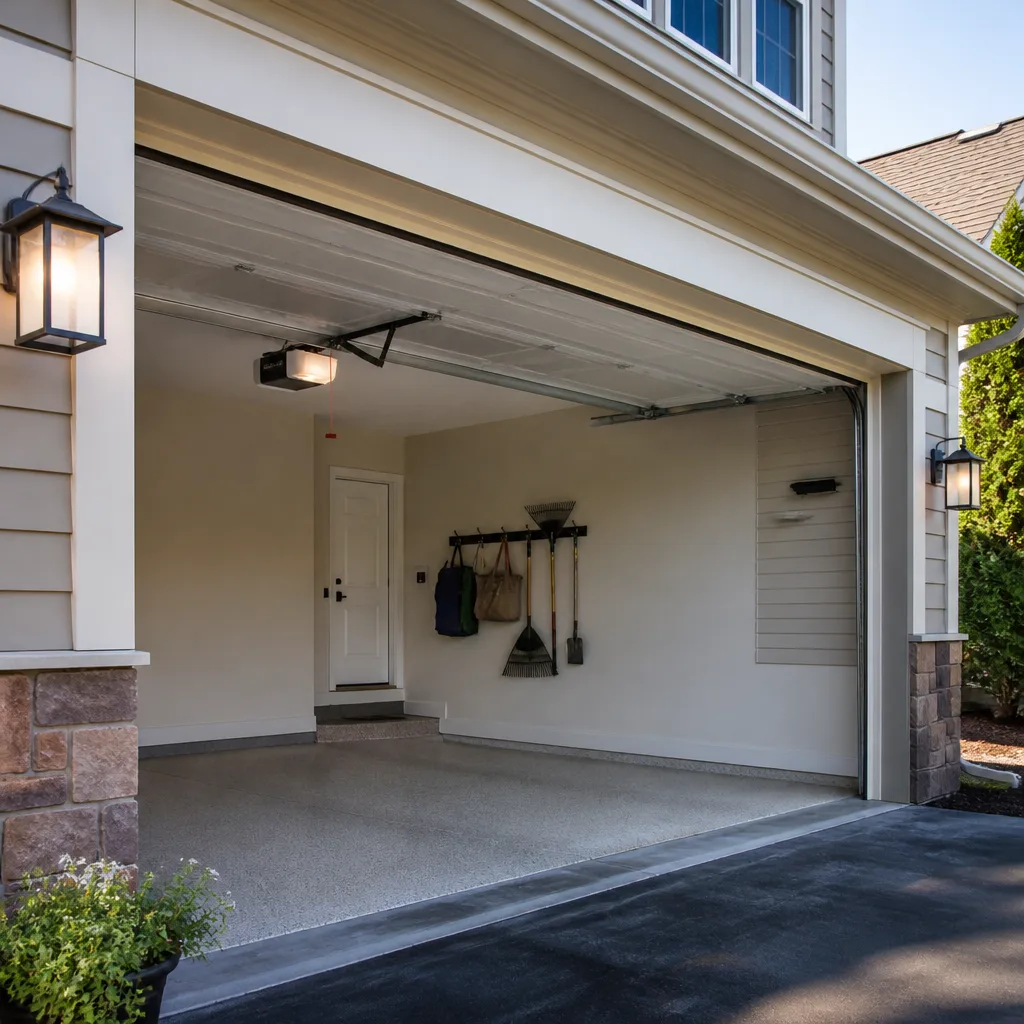 Chamberlain openers
Full 25-point door and opener safety check with every visit - springs, cables, rollers, tracks, and your LiftMaster or Chamberlain opener included
You get a price before we start. It does not change when the truck arrives.
Get your free estimateDIY vs Professional Garage Door: The Newport News Homeowner’s Decision Guide
There are exactly three garage door tasks a Newport News homeowner can safely do with a weekend’s worth of research: weatherstripping, sensor alignment, and lubrication. About a dozen others look just as approachable on video and are not. The difference isn’t skill level or confidence. It’s consequence. Some mistakes on a garage door cost you a Saturday afternoon. Others cost you a finger, or a door panel folded in half on the driveway. This guide sorts the safe from the risky with a simple decision framework, so you know where the line is before you pick up a wrench in Newport News.
Quick Answer
DIY is reasonable for the low-risk, low-tension jobs: replacing bottom weather seal, cleaning and aligning safety sensors, lubricating hinges and rollers, and reprogramming a remote. Anything involving torsion or extension springs, cables, the bottom bracket, or the opener’s internal drive gears should go to a trained technician. A new door installation is a measurement-and-fit job, not a weekend DIY project, and the same goes for swapping an opener onto an existing door.
Styles & brands we work with
- Raised-panel steel
- Carriage house
- Modern flush
- Full-view glass
- LiftMaster openers
- Chamberlain openers
Table of Contents
- What’s genuinely safe to DIY on a garage door?
- Why spring work is categorically different from other repairs
- The hidden costs of DIY nobody prices in
- How to tell if a repair video actually applies to your door
- The decision framework: tension, overhead, safety circuit
- Newport News specifics: climate, housing, and how doors fail here
- When to call a professional
- Frequently asked questions
What’s genuinely safe to DIY on a garage door?
Four jobs sit firmly on the DIY side of the line. Weatherstripping, safety sensor alignment, lubrication, and remote or keypad reprogramming are low-risk, reversible, and don’t put you under stored tension. If your only complaint is a draft at the bottom, a door that reverses on nothing, or a remote that stopped talking to the opener, you can handle it.
The DIY-safe list
- Bottom weather seal replacement. The rubber strip along the bottom of the door slides out of its retainer and slides back in. No tension involved. This is the single most DIY-friendly garage door job, and it’s also the one that makes the biggest difference to drafts and water intrusion in Newport News.
- Safety sensor alignment. If the door starts closing and immediately reverses, the two small photo-eye sensors near the floor are usually misaligned or blocked. Wipe the lenses, check that both LEDs are solid, and adjust the brackets until they face each other cleanly.
- Lubrication. A garage door has hinges, rollers, and a track that benefit from a proper garage-door lubricant a couple of times a year. Avoid heavy grease, which attracts grit and gums up in cold weather. A light spray on hinge pivots and roller stems is enough.
- Opener remote and keypad reprogramming. This is a menu job, not a mechanical one. You’ll need the opener’s manual or the model number to find the right pairing sequence. The brand printed on the opener matters here: a LiftMaster and a Genie use different pairing routines, and a Craftsman opener from an older generation may use a different method than a current one.
None of these require getting on a ladder over a moving door, and none of them put your hands anywhere near a spring. That’s the test: if the job doesn’t involve tension, overhead weight, or the opener’s drive system, it’s probably fine.
Why spring work is categorically different from other repairs
A torsion spring holds the full weight of the door in stored mechanical energy. When it’s wound, that energy is waiting. When it’s released without the right tools and technique, it releases fast. This is why spring work is the clearest case in the entire trade where the math favors calling someone, even for a confident DIYer.
The physics in plain terms
A standard residential garage door weighs a couple hundred pounds. The springs are calibrated to counterbalance nearly all of that weight so a person can lift the door with one hand. That counterbalance is stored energy, and a torsion spring at working tension can do serious damage to a hand or arm if it slips off a winding bar mid-job. Extension springs, common on older doors, are a different failure mode: when they break, they snap back along the track. That’s why manufacturers call for a safety containment cable through the center of an extension spring, and why a missing cable is a real hazard, not a cosmetic detail.
What actually goes wrong
- Winding bars slip. Torsion springs are wound with two steel rods inserted into the collar. If one slips out of the collar while the other is still loaded, the spring unwinds in a fraction of a second with the bar attached.
- The wrong spring size. Springs are matched to door weight, height, and cycle life. A spring that’s close but not correct will either leave the door too heavy to lift or overpower it so the opener strains and the door slams shut.
- Cables jump the drum. Cables carry the door’s weight on each side. If they’re not seated correctly after a spring swap, they can bind, fray, or snap, and a snapped cable means a door that drops on one side.
- The door comes down crooked. Uneven spring tension twists the door in the opening. That loads the panels, the hinges, and eventually the opener, and the damage shows up later than the spring job itself.
Every one of those failure modes has a specific, non-obvious remedy that a trained technician has done hundreds of times. If your spring is broken, the right move is to stop using the door (an opener that keeps running against a broken spring will strip its own gears) and get it looked at. That’s what our garage door repair service exists for.
The hidden costs of DIY nobody prices in
The do-it-yourself math usually starts with the price of the part and stops there. That’s where it goes wrong. The real cost of a DIY garage door repair often shows up weeks later, in a second failure, a voided manufacturer warranty, or damage to a component you didn’t know you were stressing.
Wrong parts, bought twice
Garage door parts are less interchangeable than they look. Rollers come in different stem lengths and diameters. Hinges are numbered and go in specific positions on specific panels. Springs are sized by wire gauge, inside diameter, and length, and there’s no universal fit. A homeowner who buys the wrong spring usually finds out at installation, when the door still won’t balance. At that point you’ve paid for the wrong part and you’re calling someone anyway.
Warranty voids
Door and opener manufacturers set installation and service requirements, and a self-installed component that fails because of how it was installed can fall outside coverage. This is especially true for openers, where the drive system and safety circuit have to be set up to spec. If you have a newer LiftMaster or Chamberlain opener under warranty, a botched DIY repair can quietly cost you the coverage you already paid for.
Secondary damage
This is the expensive one. A door operated with a broken spring will chew up its opener gears. A door with a mis-seated cable can drop and bend a panel or damage the track. A sensor that’s been “fixed” by taping it in place can leave the door reversing unpredictably, which is a real risk if a child or pet is under it when it cycles. Each of these turns a small repair into a larger one.
Time you didn’t budget for
The videos make it look like a two-hour job. Watching it done once by someone with the right tools, on a door that’s already in good shape, is not the same as doing it yourself on a door that’s been sitting in a Newport News garage for twenty years. If your door is older and the hardware is rusted or seized, a “quick” job can turn into a full afternoon and a trip to the hardware store.
How to tell if a repair video actually applies to your door
A garage door repair video is only useful if it matches your specific door. Three things need to line up before you trust a tutorial: the door’s brand, the spring type, and the track configuration. If any of those don’t match, the video is teaching you a procedure for a different machine.
Step 1: Identify the brand and model
The manufacturer’s name is usually stamped on the door’s hardware or on a sticker on the inside of a panel. Doors from Clopay, Amarr, Wayne Dalton, and Raynor all have their own hardware layouts and their own spring arrangements. A Wayne Dalton door with a TorqueMaster spring system, for example, doesn’t work like a standard torsion setup. A video made for a different brand can lead you to force a part that shouldn’t be forced.
Step 2: Identify the spring type
- Torsion: a horizontal shaft above the door with springs mounted on it. Common on modern doors. High tension, needs winding bars and specific technique.
- Extension: springs that run parallel to the horizontal tracks along the ceiling. Common on older doors. Should have safety cables through the center.
- TorqueMaster or similar enclosed systems: springs housed in a tube above the door. Different tools, different procedure.
Step 3: Match the track and panel configuration
Low-headroom, high-lift, and standard-lift tracks all route the door differently, and the panel hinges are numbered to match. A video showing a standard seven-foot door won’t apply cleanly to an eight-foot door or a door with a low-clearance track. If the video’s door looks different from yours in section count or track shape, stop and find a better match.
The fastest version of this check: photo your door’s spring, track, and hardware labels, then compare them to the video before you touch anything. If the labels are missing and the setup looks unusual, that’s a sign to call rather than guess.
The decision framework: tension, overhead, safety circuit
Forget skill level for a minute. Every garage door task can be sorted by three questions. If the answer to any of them is yes, it belongs to a professional. This framework is what we use to decide whether to walk a homeowner through a fix on the phone or send a technician.
The three-question test
- Is anything under tension? Springs, cables, and the door’s balance system all store energy. If the repair involves releasing, adjusting, or replacing a part that’s holding the door up, stop. That includes spring swaps, cable work, and the bottom bracket that anchors the cables.
- Are you working overhead? Anything that puts you on a ladder with hands above your shoulders, working on a moving or weighted component, has a fall risk on top of the mechanical risk. Track adjustment, roller replacement at the top of the door, and opener mounting all qualify.
- Does it touch the opener’s safety circuit? The photo-eye sensors, the force limits, and the travel limits on your opener are what stop the door from crushing something in its path. Adjusting force or travel without the right tools and test procedure can leave the door running with a dangerous setting. Sensor alignment is fine. Force and travel calibration are not a DIY job.
The verdict table
- DIY-safe: bottom seal, sensor alignment, lubrication, remote/keypad programming, visual inspection.
- Call a pro: torsion or extension spring replacement, cable replacement, roller replacement at the top of the door, hinge replacement on a loaded panel, track realignment, opener gear or drive repair, opener force and travel adjustment, and any diagnostic that requires opening the opener housing.
- Never DIY: door panel replacement on a door that’s under spring tension, and any attempt to remove or adjust the bottom bracket.
If you’re unsure which bucket a repair falls into, describe it to us and we’ll tell you honestly whether it’s a phone-fix or a job for a technician. That’s how we handle our garage door opener repair calls, and it’s the same approach across the board.
Newport News specifics: climate, housing, and how doors fail here
Garage doors in Newport News live in a particular set of conditions. The climate swings from hot, humid summers to cold winter nights, and that cycle works on garage door hardware in ways that a drier climate doesn’t. The housing stock adds the second factor: many Newport News homes have garages that were built decades ago, and the original doors and openers are still on the wall.
Heat and humidity
The summer humidity in Newport News is a real load on any garage that isn’t air-conditioned. Condensation on the inside of the door and on the metal hardware is common, and it accelerates corrosion on hinges, rollers, and the bottom bracket. Wood doors absorb moisture and swell, which throws off the fit in the opening and changes the balance. Steel doors with a cheap paint finish can start to blister at the bottom edge after enough humid seasons. That’s one more reason the bottom seal matters: it’s the first line of defense for the door’s lower edge.
Winter cold and the opener
Cold nights stiffen the lubricant on the track and rollers and make the door feel heavier. If the springs are already near the end of their life, winter is when the balance finally fails and the opener starts straining. If you hear a groan from the motor on cold mornings, that’s the opener carrying weight the springs used to carry. Getting it checked before it strips a gear is cheaper than replacing the opener.
Older housing stock
In neighborhoods across Newport News, plenty of homes still have the door and opener from when the house was built. That’s not a bad thing, but it does mean the repair video you found online probably assumes newer hardware than you have. An older Craftsman opener, for example, may predate the safety features that a current tutorial assumes, and an older door may use extension springs when a modern one would use torsion. Before you follow any tutorial, confirm the age and type of your hardware.
None of this makes a Newport News garage door unusually fragile. It just means the failure pattern here is specific, and a technician who works in this city sees it every week. We’ve been serving Newport News since 2014, which is long enough to know what the local doors look like under the panels.
When to call a professional
Call a professional for anything involving tension, overhead work, or the opener’s force and travel settings. That means spring replacement, cable work, top-of-door roller and hinge replacement, track realignment, opener drive and gear repair, and any installation of a new door or opener. It also means any repair where the door is uneven, binding, or making a sound you can’t identify.
Also call if your door is a brand you haven’t worked on before. We service LiftMaster, Chamberlain, Genie, Clopay, Amarr, Wayne Dalton, Craftsman, and Raynor, and each one has its own hardware layout and its own procedures. What looks like a generic repair online often has a brand-specific step that the tutorial skips.
Whitman Garage Door Repair offers free estimates in Newport News. Call (888) 967-0166 and we’ll tell you straight whether the job is DIY or professional, and what it should cost if you want us to handle it.
Common Mistakes to Avoid
- Running the opener against a broken spring. A motor that keeps pushing a door with no counterbalance will strip its gears. If the spring is broken, stop using the door and get it looked at.
- Skipping the safety cable on extension springs. Extension springs should have a containment cable through the center. If yours don’t, that’s not a small detail, it’s a safety hazard worth fixing.
- Greasing the tracks. Tracks should stay clean and dry. Lubricant on the tracks attracts grit, and the rollers are meant to slide freely. Lube the hinges and roller stems, not the track surface.
- Adjusting opener force to “fix” a heavy door. If the door is heavier than it used to be, the springs are the problem, not the force setting. Turning up force strains the opener and removes a safety margin.
- Buying a universal spring. Springs are matched to door weight, height, and cycle life. There’s no universal fit, and the wrong spring either won’t lift the door or overpowers it.
- Taping over a sensor instead of aligning it. A taped sensor can leave the door reversing unpredictably. Realign or replace the bracket, don’t rig it.
- Following a video made for a different brand or door type. A TorqueMaster door and a standard torsion door don’t work the same way, and following the wrong procedure can force a part that shouldn’t be forced.
See the difference
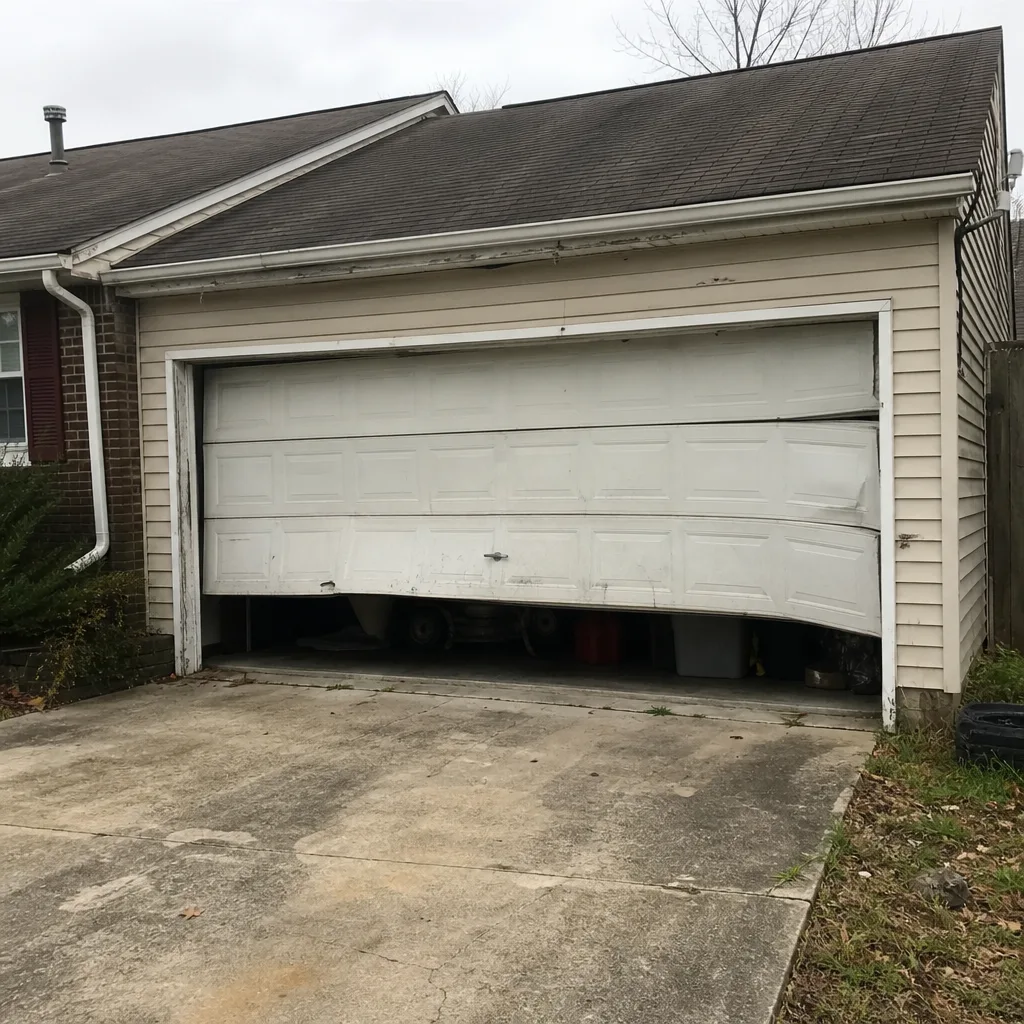 Before
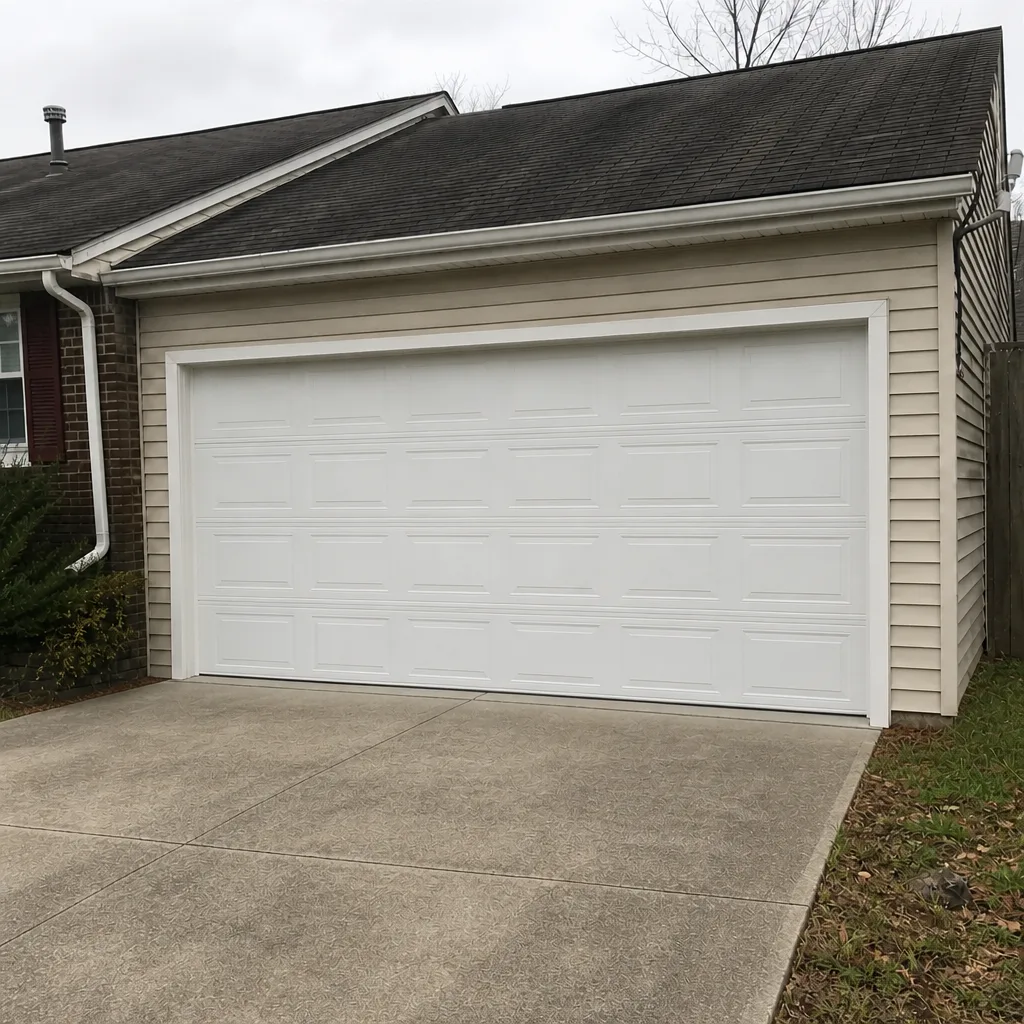 After
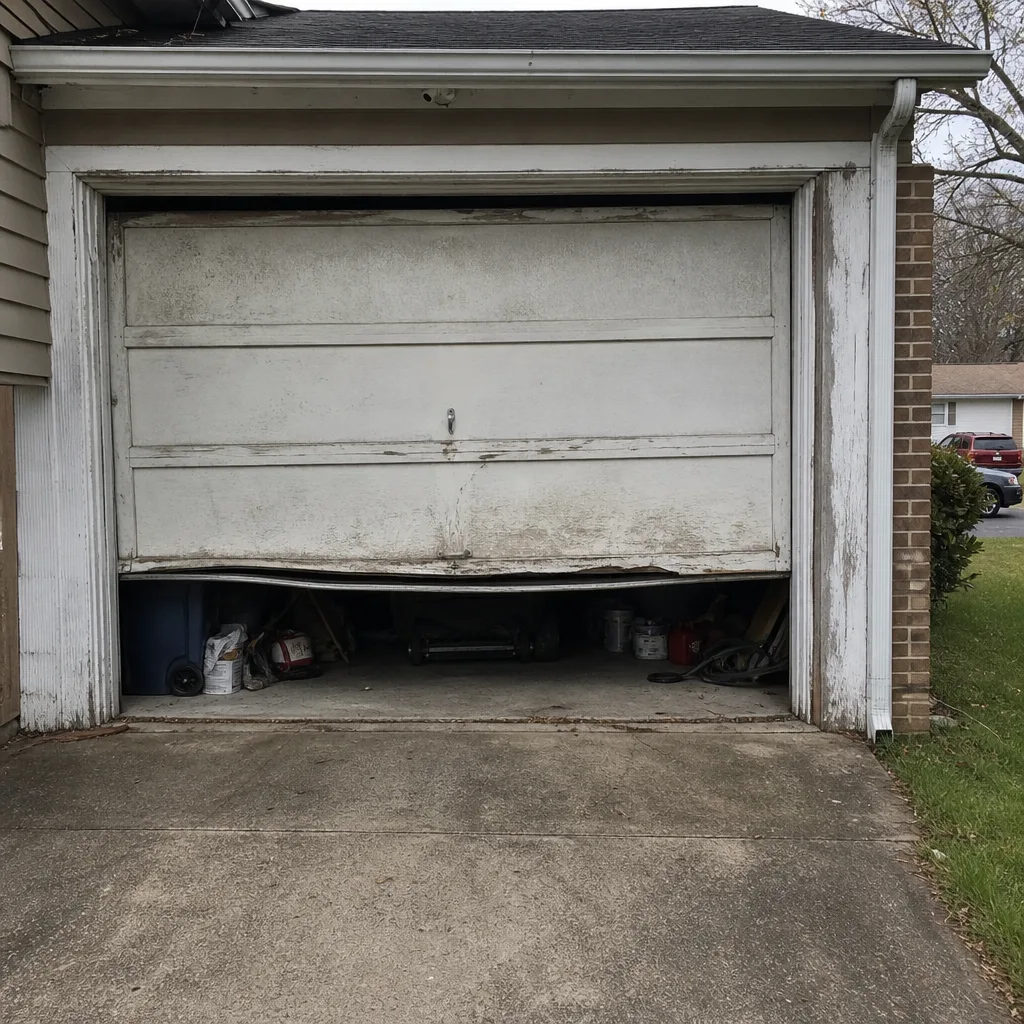 Before
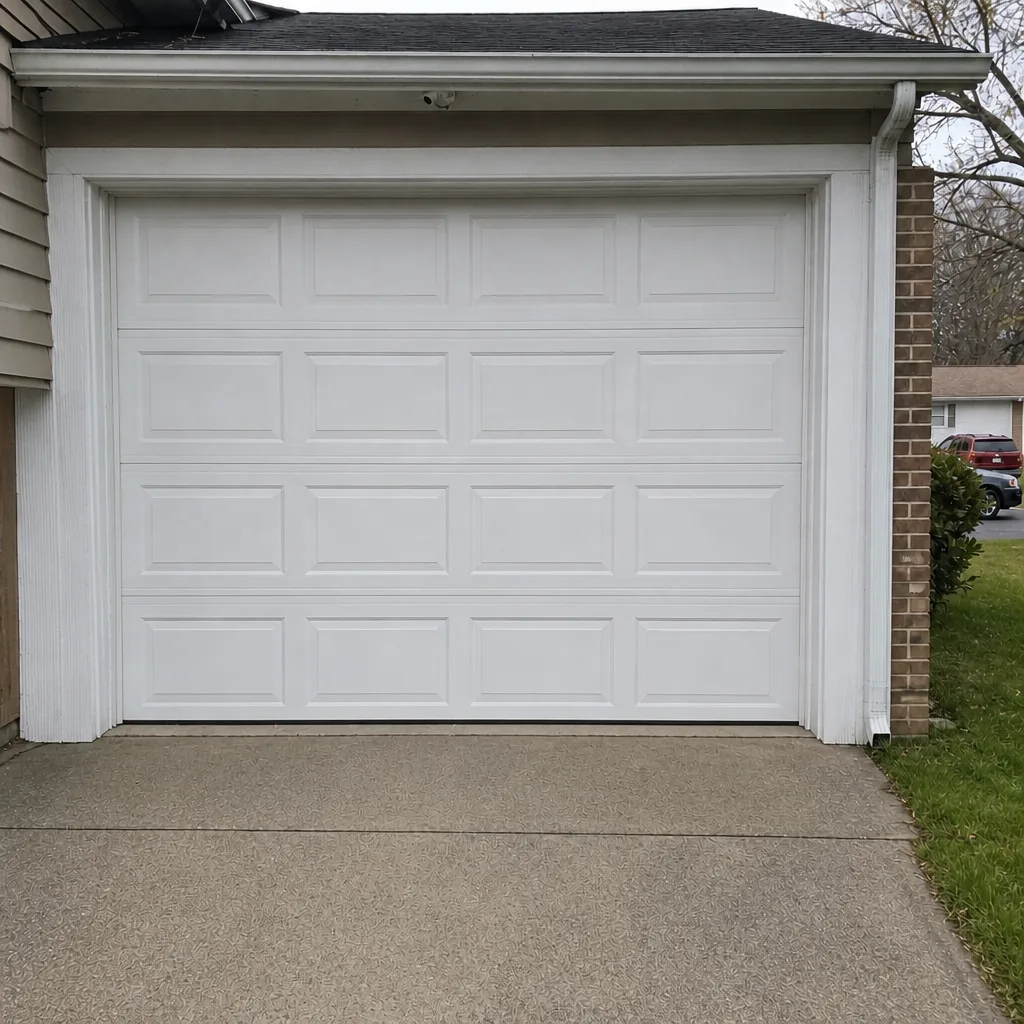 After
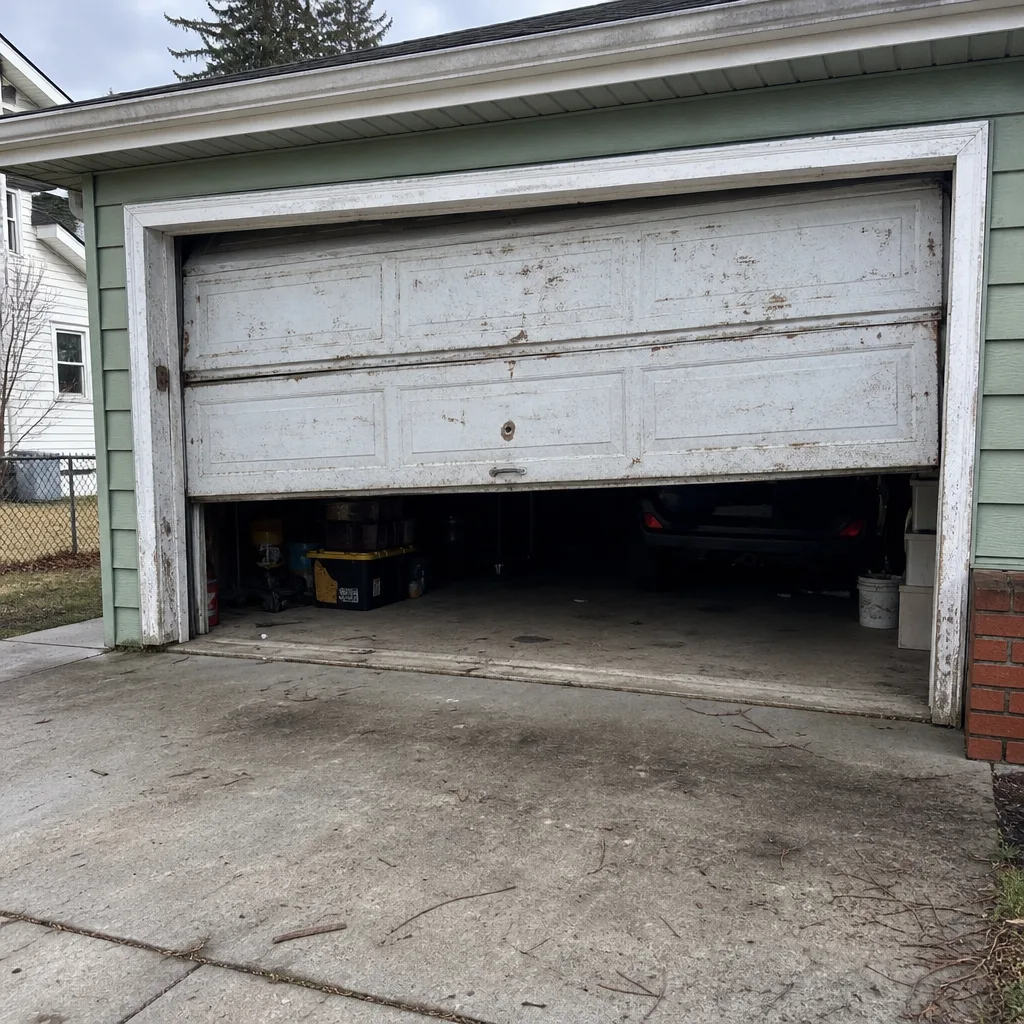 Before
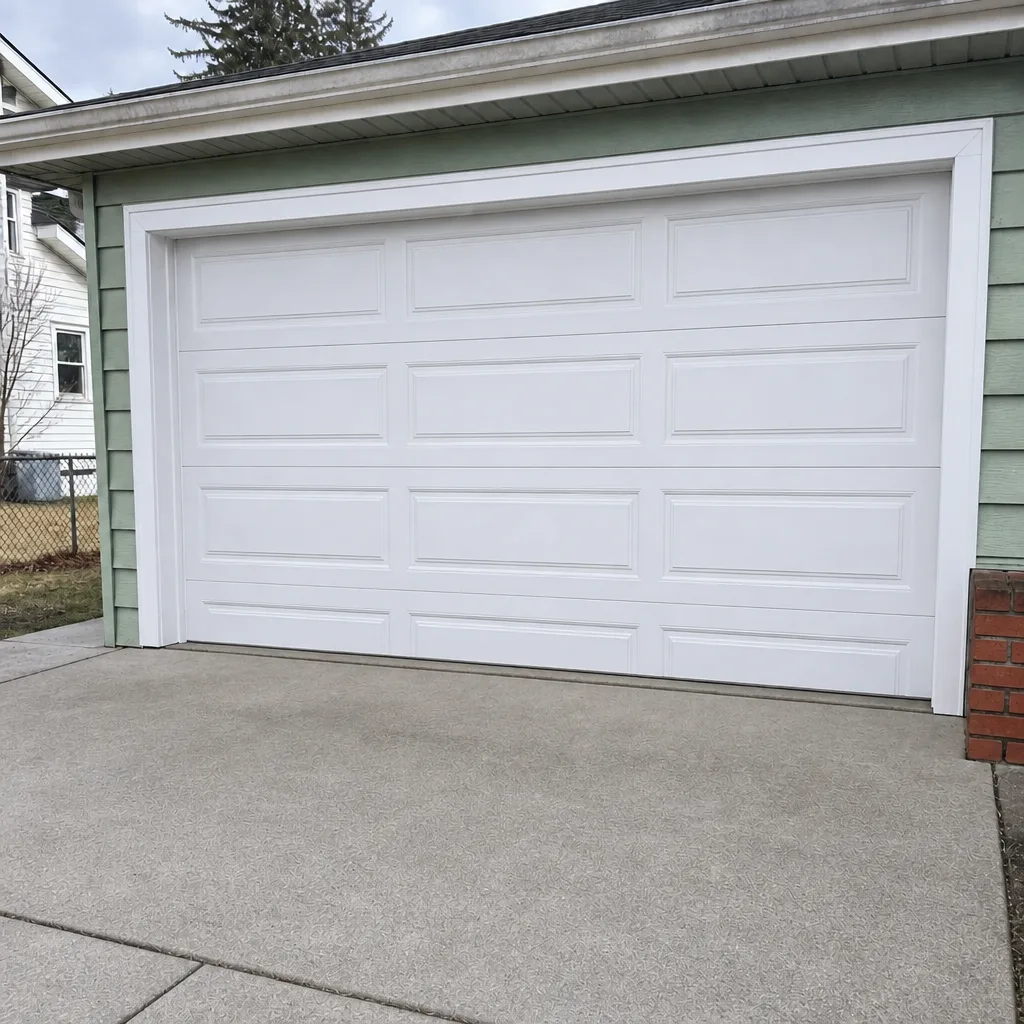 After
Frequently Asked Questions
No. Torsion and extension springs hold the full weight of the door in stored energy, and releasing or adjusting one without the right tools and technique can cause serious injury. Spring replacement is the one garage door repair we’d never recommend as a DIY job. Call (888) 967-0166 for a free estimate.
Partly. Remote and keypad programming, sensor alignment, and a visual check are safe to do yourself. Opening the opener housing for gear or drive repair, or adjusting force and travel limits, should go to a technician because those settings control the door’s safety stop. If you’re not sure which side of that line your issue is on, call us and we’ll tell you.
Most of the time it’s the safety sensors. Something is blocking the beam, or one of the two photo-eye sensors near the floor is misaligned or dirty. Wipe the lenses and check that both indicator lights are on. If the door still reverses after that, the opener’s limit or force setting may need a professional adjustment.
It depends on the repair, the door type, and the parts involved, and we set the price per job with a written estimate before any work starts. The estimate is free, so the fastest way to get a real number for your door is to call (888) 967-0166 and describe what’s happening. We answer 24/7, and fast dispatch runs from 7am to 7pm, Sunday through Friday.
It can. Manufacturers set installation and service requirements, and a component that fails because of how it was installed can fall outside coverage. This comes up most with openers, where the drive system and safety setup have to match the manufacturer’s spec. If your door or opener is under warranty, check the terms before you start.
Stop and get it identified first. Older doors in Newport News often use extension springs or a hardware layout that modern tutorials don’t cover. Take photos of the spring, the track, and any labels on the hardware, and call us. We work on Clopay, Amarr, Wayne Dalton, Raynor, and the rest, and we can tell you what you have and whether it’s a DIY job or a technician’s job.
What Happens When You Call
Describe the door and what it’s doing, and we’ll tell you whether it’s something you can handle or something a technician should look at. If it’s a repair, we schedule a visit and quote the job with a written estimate before any work starts. We answer 24/7. A call outside dispatch hours is booked into the next opening, Sunday through Friday, 7am to 7pm.
The Bottom Line
Three garage door jobs are genuinely safe to DIY: weatherstripping, sensor alignment, and lubrication. Everything else gets sorted by the three-question framework, and the moment a repair involves tension, overhead work, or the opener’s safety circuit, it belongs to a professional. The DIY math looks good on the price of the part and falls apart on the wrong-part, secondary-damage, and warranty side. In Newport News, where humidity and older housing stock work on doors year-round, getting the diagnosis right the first time saves the most. When you’re not sure which side of the line you’re on, a free estimate settles it.
Call (888) 967-0166 for a free estimate. We answer 24/7. Fast dispatch from 7am to 7pm, Sunday through Friday. Whitman Garage Door Repair
Written by the team at Whitman Garage Door Repair, serving Newport News since 2014.