
Last updated November 14, 2026
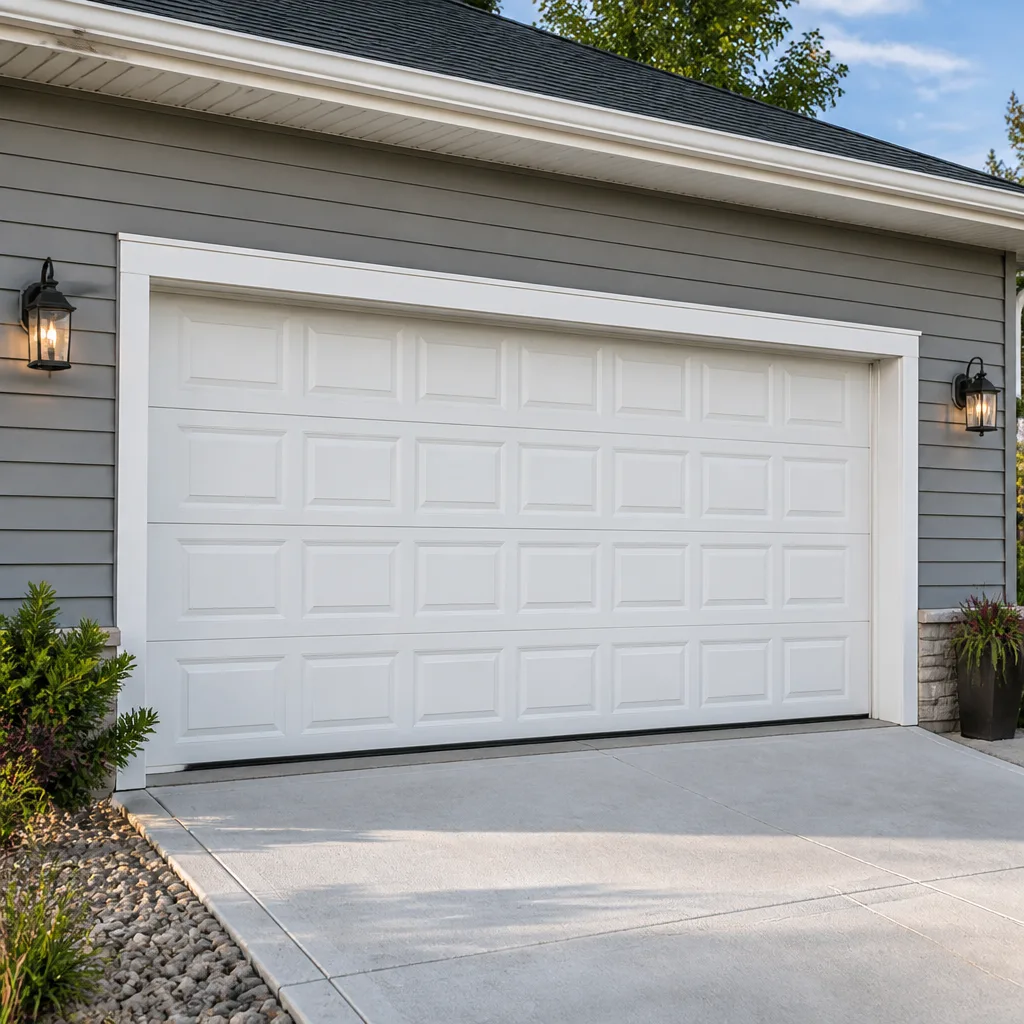 Raised-panel steel
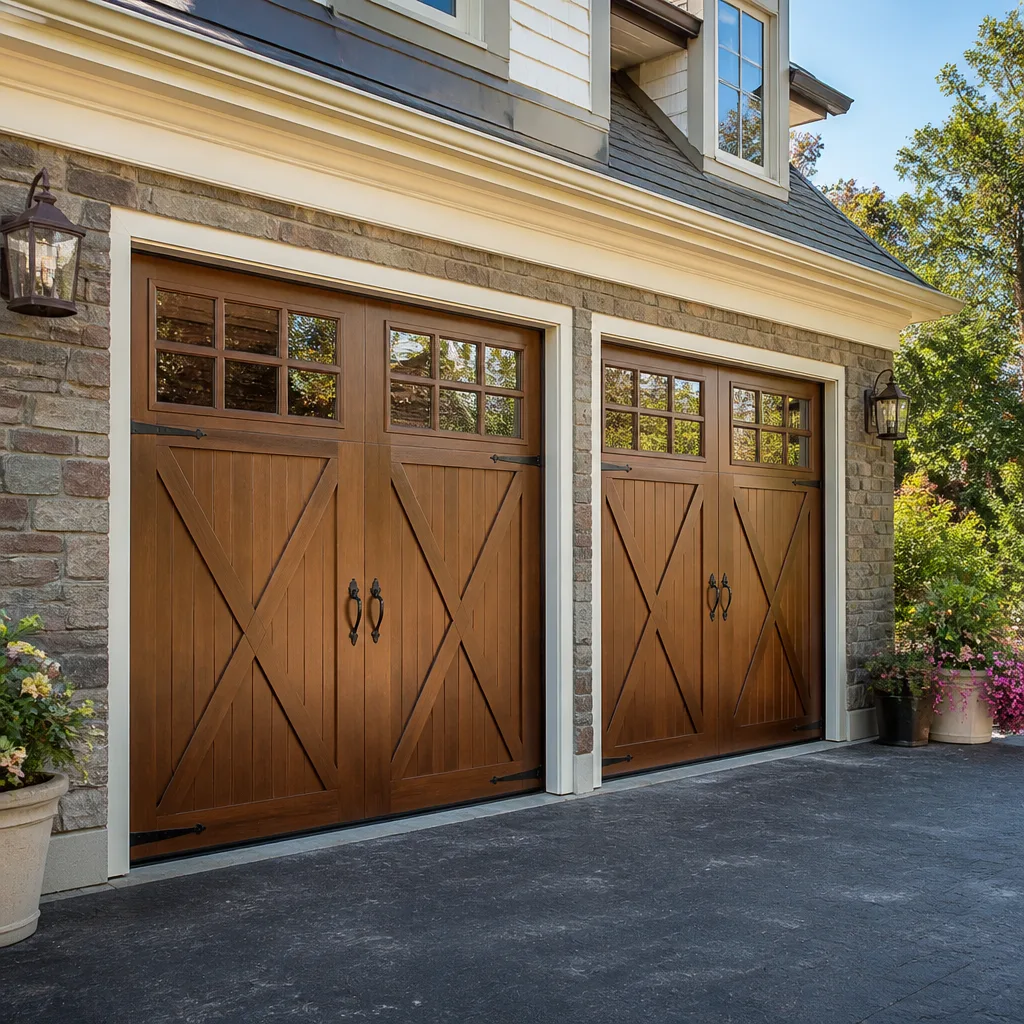 Carriage house
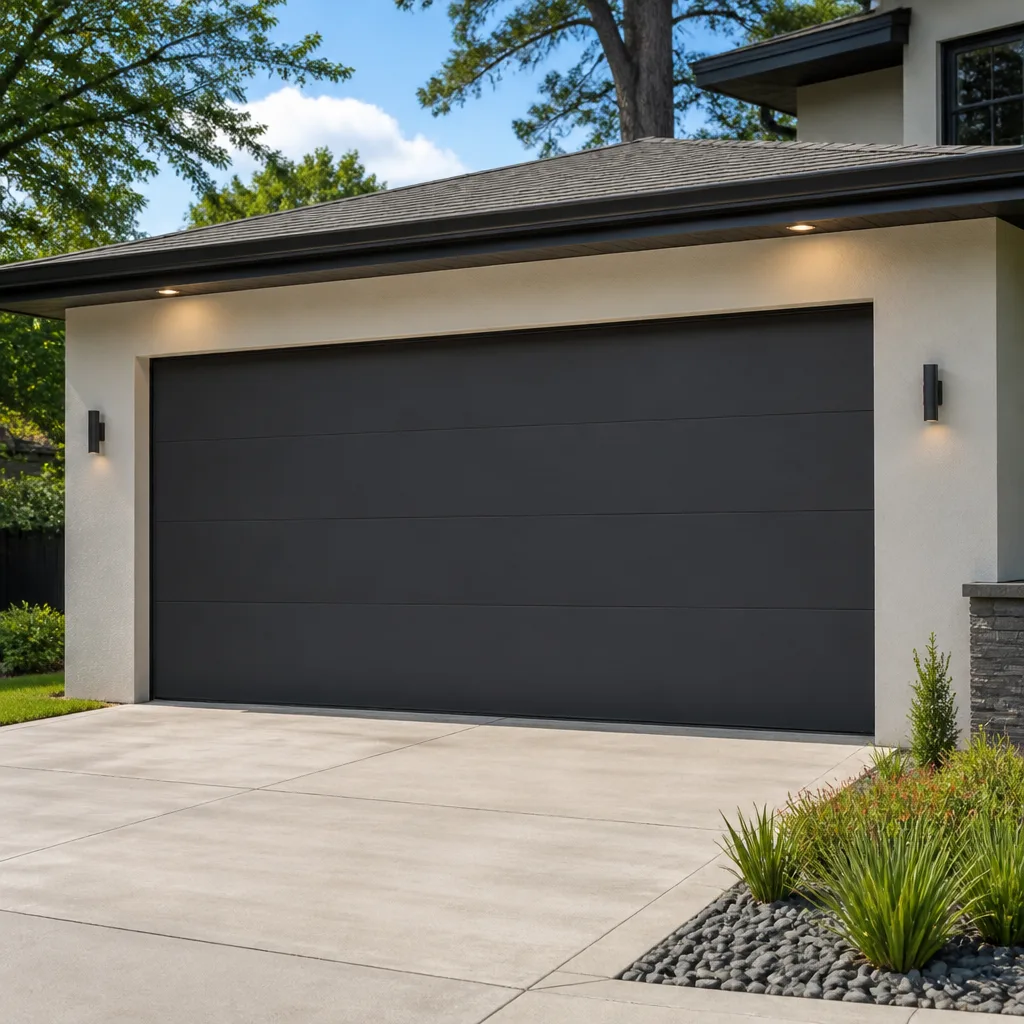 Modern flush
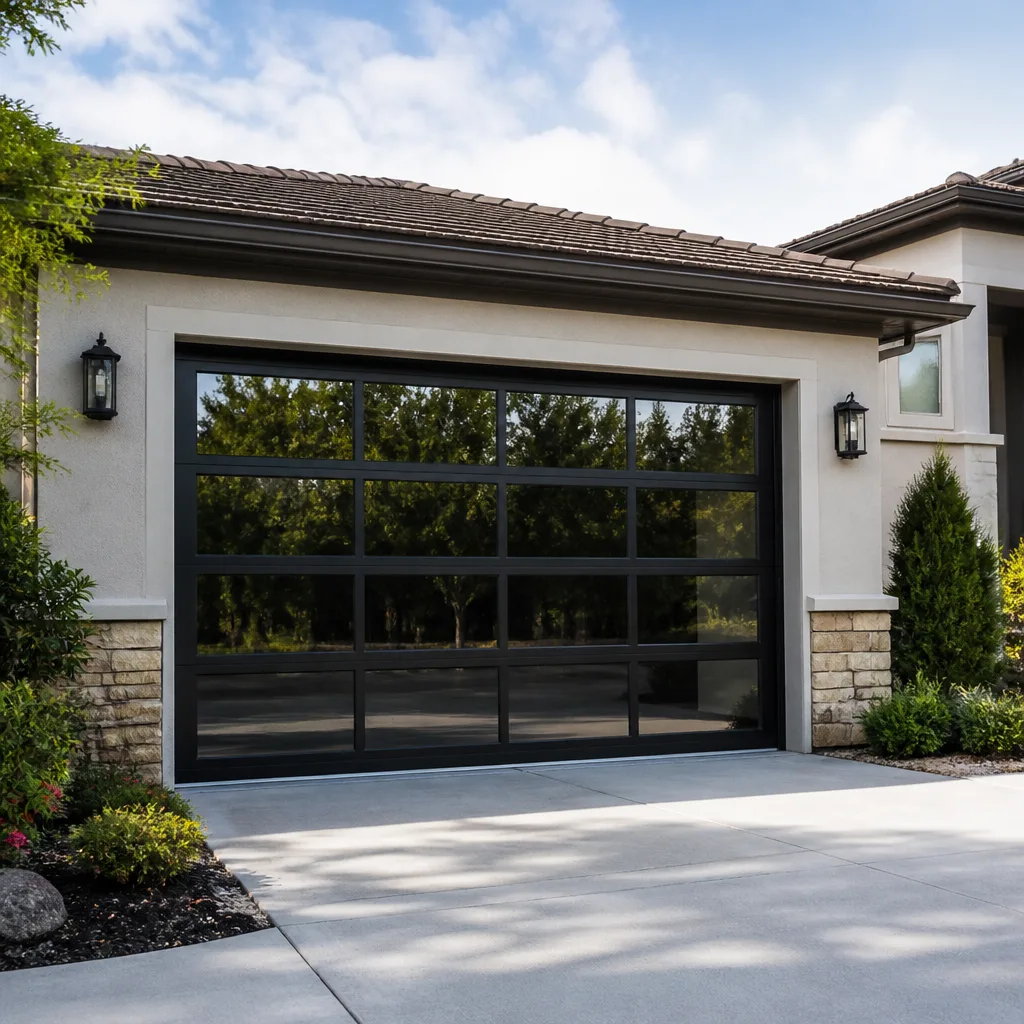 Full-view glass
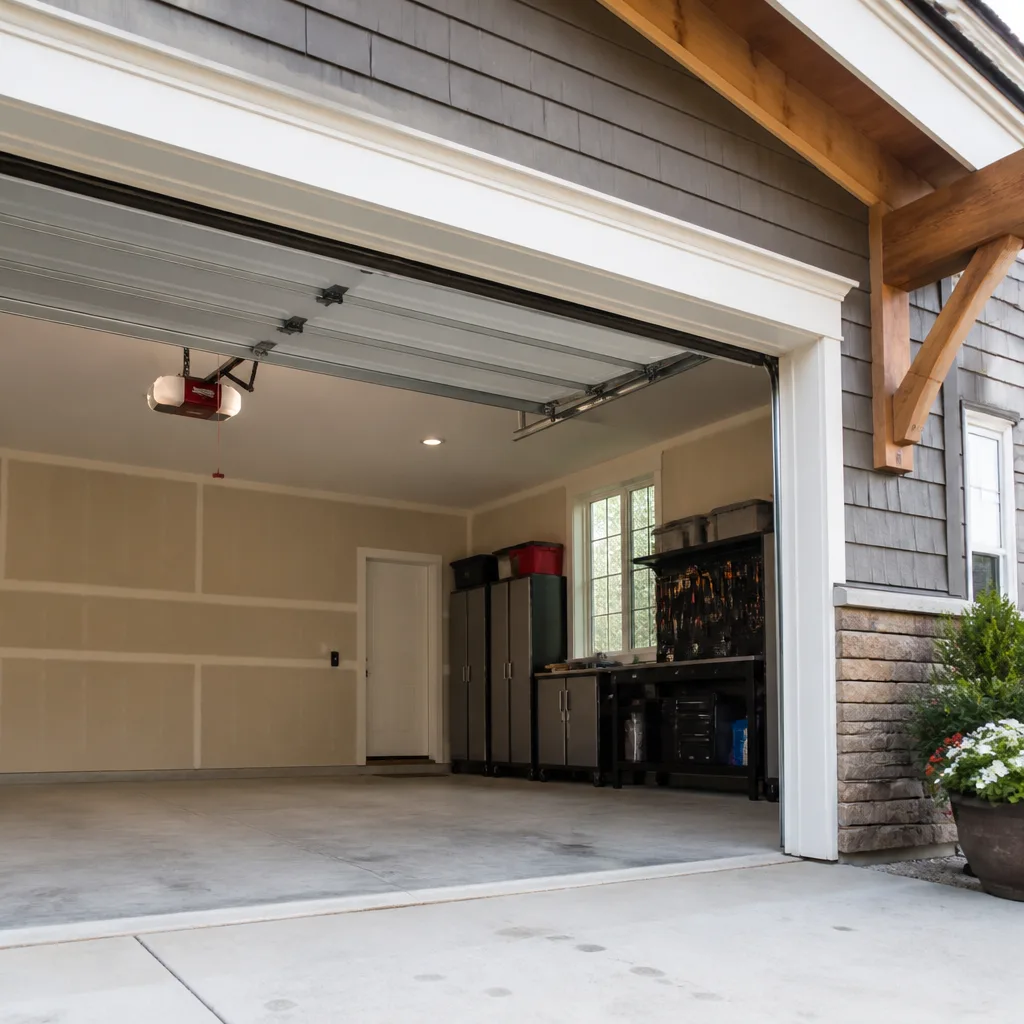 LiftMaster openers
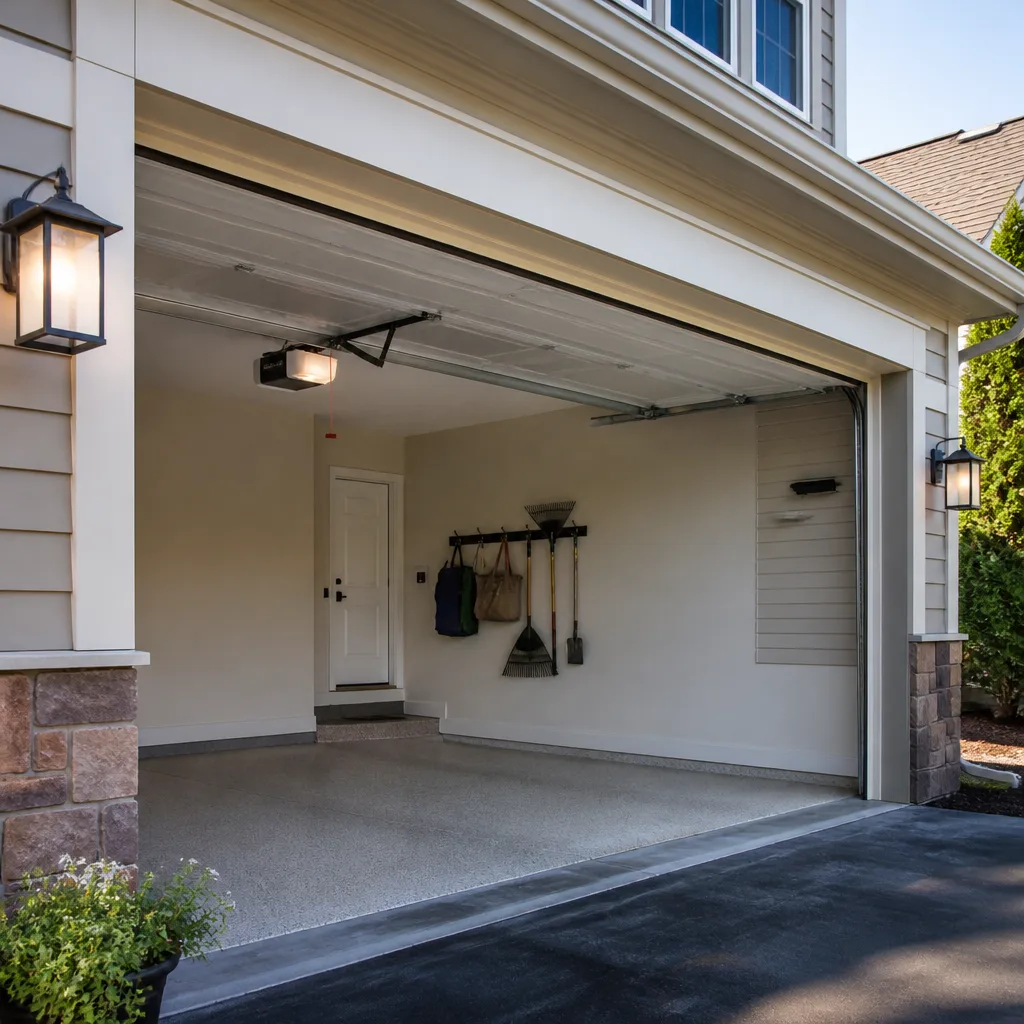 Chamberlain openers
Full 25-point door and opener safety check with every visit - springs, cables, rollers, tracks, and your LiftMaster or Chamberlain opener included
You get a price before we start. It does not change when the truck arrives.
Get your free estimateGarage Door Repair Maintenance Schedule: What to Do and When
The usual advice says to lubricate your garage door once a year and forget about it. That calendar was written for a door in a mild, dry climate, and it falls apart in Newport News. Between the Chesapeake Bay humidity that swells wood and works into every hinge, the spring and fall temperature swings that make steel contract and expand, and the salt-free but still damp air that settles into rollers, a door here can go from smooth to banging in a single season. What follows is a real maintenance schedule built around how doors actually age in this city: month by month, component by component, with the lubricants and torque checks most guides skip. By the end you’ll know what to do yourself, what to leave alone, and how to tell whether a technician actually did the work.
Quick Answer
A garage door in Newport News needs lubrication every three to four months, not once a year, because the local humidity cycles wear down grease faster than the national average. Homeowners should handle monthly visual checks, quarterly lubrication, and twice-yearly hardware tightening, while springs, cables, and the opener’s internal drive should be inspected by a professional once a year. The single biggest schedule adjustment for this climate is pre-summer prep in May and a post-summer inspection in October.
Styles & brands we work with
- Raised-panel steel
- Carriage house
- Modern flush
- Full-view glass
- LiftMaster openers
- Chamberlain openers
Table of Contents
- Why a Generic Maintenance Schedule Fails in Newport News
- The Month-by-Month Garage Door Calendar
- Which Lubricant Goes on Which Part
- The Hardware Torque Checks Most Homeowners Skip
- How to Estimate the Life Left in Your Springs
- What a Real Professional Inspection Should Include
- Opener-Specific Maintenance
- Common Mistakes to Avoid
Why a Generic Maintenance Schedule Fails in Newport News
National maintenance guides assume a stable climate. Newport News doesn’t offer one. A door here lives through humid summers where the air holds moisture for weeks, followed by winters that dip cold enough to shrink metal and stiffen grease. That cycle repeats every year, and each pass adds a little more wear to the moving parts than a door in Phoenix or Denver would see over the same period.
Here’s what that means in practice. Grease on rollers and hinges that would last twelve months in a dry climate starts to break down and collect grit after about four months in Newport News. Steel tracks expand in July heat and contract in January cold, which loosens the bolts holding them to the frame. Wood doors, still common in older neighborhoods around Hilton Village and the North End, swell slightly in summer humidity and shrink back in winter, which changes how the panels sit against the weather seal.
The result isn’t that the door fails faster in some dramatic way. It’s that the failure points show up in a different order, and at a different time of year, than a generic schedule would predict. A door that gets its lubrication on a January schedule might run fine through spring, then start shrieking in August because the grease dried out in June. A door that gets a tune-up in spring but nothing in fall will develop a gap at the bottom seal by December as the threshold shifts with the cold.
Building the schedule around the seasons, rather than around a fixed annual date, is the difference between a maintenance plan that works and one that just looks like one. That’s the core adjustment this guide makes for Newport News.
The Month-by-Month Garage Door Calendar
This calendar is the heart of the guide. It assigns specific tasks to specific months based on what the weather is doing and what the door is likely to need. You don’t have to hit every month exactly, but the sequence matters: prep before the humidity, inspect after the heat, tighten before the cold.
- January – Cold-weather contraction check. Walk the door up and down and listen. Metal contracts in the cold, so loose bolts and misaligned tracks show up now. Check that the bottom seal still touches the floor evenly; a gap on one side means the track or the threshold has shifted.
- February – Opener safety reversal test. Put a piece of wood flat on the floor in the door’s path and close the door. It should reverse on contact. If it doesn’t, the opener’s force limit or sensor alignment needs attention. Do this indoors, away from ice on the driveway.
- March – Spring inspection window. Spring is when you should look closely at the springs, cables, and drums before the door gets heavy use in summer. Visual only; don’t touch the springs themselves.
- April – Hardware torque pass. Tighten the bolts on the hinges, track brackets, and the opener’s rail. This is the pass most homeowners skip, and it’s the one that prevents the “my opener is failing” call that turns out to be a loose bracket.
- May – Pre-summer humidity prep. This is the big one for Newport News. Clean and re-lubricate every moving part with a garage-door-specific lubricant, not oil. Check the weather seal at the bottom and the sides for cracks that will let humid air in.
- June – Roller and hinge check. With the door closed, look at each roller. Worn nylon rollers develop flat spots and rattle; steel rollers rust. Replace any that are failing before the summer heat finishes them off.
- July – Balance test. Disconnect the opener (pull the release cord with the door closed) and lift the door halfway by hand. It should stay put. If it drops or rises, the springs are out of balance and need a professional look.
- August – Seal and insulation check. The hottest month is when weather stripping dries and cracks. Run a hand along the bottom and side seals; replace anything stiff or split.
- September – Post-summer full inspection. The door has been through its heaviest use season. Go through the whole system: springs, cables, tracks, rollers, hinges, opener, sensors, seals. This is the natural time for the annual professional visit.
- October – Pre-cold tightening. Tighten every fastener you can reach, check the track alignment, and lubricate again before the temperature drops and the grease stiffens.
- November – Opener remote and battery check. Cold kills remote batteries. Test every remote, replace the batteries, and check that the wall control still works. Also clear anything stored against the door’s path.
- December – Year-end review. Note anything that’s been noisy, slow, or sticking over the year. Write it down for the spring inspection so you’re not trying to remember in March.
That’s twelve touchpoints, but most take ten minutes. The heavy ones are May and September, which is exactly when the Newport News climate demands the most attention. If you’re in doubt about which task applies, calling a specialist for a free estimate is cheaper than guessing wrong on a spring.
Which Lubricant Goes on Which Part
Most garage door wear starts with a lubricant mistake, and the most common mistake in Newport News is reaching for WD-40. That’s not a lubricant; it’s a solvent and water displacer. Spraying it on rollers and hinges strips away the factory grease, thins out, and attracts dust. Do that once a summer for three years and the door will sound like it’s coming apart, even though nothing is actually broken yet.
Here’s what goes where:
- Rollers and hinges: a white lithium grease or a garage-door-specific spray lubricant. Apply a light coat to each hinge knuckle and each roller stem, not the roller face that rides in the track. The track itself stays dry.
- Springs: a garage-door-specific spring lubricant, applied lightly. Some springs come pre-lubricated from the factory; check the door’s manual if you have it. Never use WD-40 or a penetrating oil here.
- Tracks: nothing. Tracks should stay clean and dry. Lubricating a track traps grit and can cause the rollers to slide instead of roll.
- Opener rail and chain: a chain-and-cable lubricant for chain-drive openers, applied per the manufacturer’s spec. Belt-drive openers don’t need rail lubrication. Screw-drive openers use a specific grease; check the manual for a LiftMaster or Chamberlain unit before applying anything.
- Weather seals: a silicone spray on the rubber weather stripping keeps it flexible through the summer humidity and the winter cold. This is one of the few places where silicone beats grease.
- Lock and handle mechanisms: a dry graphite lubricant. Grease in a lock cylinder collects dust and seizes over time.
If you’re not sure what’s already on your door, clean the component with a rag and a mild degreaser first, let it dry, then apply the right product. Mixing lubricants is how you end up with a sticky mess that attracts grit and does more harm than good.
The Hardware Torque Checks Most Homeowners Skip
A huge share of what gets reported as “opener problems” in Newport News aren’t opener problems at all. They’re loose bolts. The door shakes, the opener strains, the motor sounds like it’s failing, and a technician arrives to find that three hinge bolts have backed out a quarter turn each. Tightening them fixes the whole complaint in minutes.
The problem is most homeowners don’t know those bolts exist, let alone that they need checking. Here’s the list:
- Hinge bolts. Each hinge has two or more bolts attaching it to the door panel. They loosen from vibration, and the bottom hinges take the most stress. Check every hinge twice a year, especially the ones nearest the floor.
- Track brackets. The brackets holding the vertical and horizontal track to the door frame loosen as the metal expands and contracts with the seasons. A loose bracket lets the track shift a fraction of an inch, which is enough to make the door bind.
- Bearing plates. The plates at each end of the torsion shaft are bolted to the frame. Loose bearing plates cause a knocking sound during operation and put uneven load on the springs.
- Opener mounting bracket. The bracket attaching the opener to the ceiling or the header loosens over time, and a loose bracket transmits vibration through the whole house. Check the lag bolts into the framing.
- Center brackets and drums. The center bearing bracket and the cable drums have set screws that can back out. These are high-tension components; if they look loose, stop and call a professional rather than tightening them yourself.
A torque pass with a socket wrench takes about fifteen minutes and prevents a category of problems that would otherwise turn into a service call. Do it in April and again in October, right before the seasons change. If a bolt is stripped or won’t hold, that’s a sign of a bigger issue and worth a professional look.
How to Estimate the Life Left in Your Springs
Garage door springs are rated in cycles, and a cycle is one full open plus one full close. Standard residential springs are typically rated for 10,000 cycles, and high-cycle springs for more. A household that opens and closes the door four times a day, every day, uses about 1,460 cycles a year. That puts a standard spring at roughly seven years of service, assuming average use.
In Newport News, that estimate runs a little shorter. The humidity accelerates corrosion on the spring coils, and corrosion creates stress points where the spring can fail early. A door that’s exposed to more moisture, closer to the water or in a shaded spot that never fully dries, will usually fail on the short side of the estimate. A door on a sun-exposed, well-ventilated garage might reach the full seven years.
Here’s how to estimate where your springs stand:
- Count your daily cycles. A family with two drivers and kids coming and going might open the door six to eight times a day. That’s 2,190 to 2,920 cycles a year, which cuts a 10,000-cycle spring down to three and a half to four and a half years.
- Check the door’s age. If you bought the house and don’t know when the springs were replaced, look at the coils. A slightly darker or rougher finish on one spring versus the other often means it’s the older one.
- Listen for the warning signs. A door that starts to feel heavy at the halfway point, or that doesn’t stay up when you disconnect the opener and lift it by hand, is telling you the springs are losing tension.
- Watch for gaps and stretching. An intact torsion spring has tight coils with even spacing. A stretched or gapped coil is a spring on its way out.
When a spring does fail, it’s a genuine safety issue. Torsion springs are under tremendous tension, and a broken one can cause injury to anyone nearby. Don’t try to replace or adjust one yourself. A specialist can confirm the right spring for your door and replace a matched pair together, since the two springs on a door usually wear at the same rate.
What a Real Professional Inspection Should Include
An annual professional inspection is worth paying for, but only if the technician actually inspects. Some visits amount to a visual glance and a bill. Here’s what a proper inspection should cover, so you can tell the difference:
- Full cycle test with the door disconnected. The technician should run the door by hand to check balance, resistance, and binding, not just watch the opener move it.
- Spring and cable examination. Close visual inspection of both torsion springs, the cables, the drums, and the bearing plates. Any sign of wear gets flagged, and the technician should explain what they see.
- Roller and hinge condition. Each roller should be checked for flat spots, and each hinge inspected for wear and tightness.
- Track alignment. The tech should check that the vertical and horizontal tracks are plumb and level, and that the gap between the track and the roller is consistent.
- Opener safety systems. The photo-eye sensors should be tested by blocking the beam, and the force limits should be tested with the reversal test.
- Weather seal condition. The bottom, side, and top seals should be checked, and any gap between the door and the frame should be measured.
- A written summary. You should get a clear list of what’s fine and what needs attention, with pricing for anything recommended, before any work starts.
If a technician skips the manual cycle test, or can’t tell you what condition your springs are in, that’s the sign to ask questions. A proper inspection in Newport News also pays attention to corrosion at the spring and hinge points, since the local humidity is the biggest driver of early failure. We work on every major opener and door brand, from Craftsman and Raynor installations to LiftMaster and Chamberlain openers, so a thorough inspection should leave you with a clear, brand-specific answer.
Opener-Specific Maintenance
The door gets the attention, but the opener is the part that actually fails first when it’s neglected. Modern openers, especially the smart-home models from LiftMaster and Chamberlain, have their own maintenance cycle that runs on a different clock than the door’s.
Here’s the opener maintenance schedule:
- Battery replacement: remote and keypad batteries once a year, in November before the cold. Safety sensor batteries are built into the units on most models and don’t need replacing.
- Sensor alignment check: once a month, wipe down the photo-eye lenses and confirm the LED on each sensor is solid, not blinking.
- Force limit test: twice a year, using the wood-block reversal test described in the calendar.
- Rail and chain lubrication: once a year for chain-drive models, using the manufacturer’s specified lubricant. Belt-drive models generally don’t need it.
- Wi-Fi module check: once a year, confirm the smart-home connection still works and the app can open and close the door. Firmware updates occasionally drop the connection.
- Manual release test: twice a year, pull the release cord and confirm the door moves freely by hand, then re-engage the carriage.
If your opener is a Genie or an older Craftsman unit, the maintenance picture is the same, just with older hardware. A door that struggles through its travel puts extra load on the opener’s drive gear, which is why the door maintenance schedule and the opener schedule should be run together. When they aren’t, the opener is often the first component to fail, and the repair is more expensive than the maintenance would have been.
Common Mistakes to Avoid
- Using WD-40 on rollers and hinges. It strips the grease and attracts dust. Use a garage-door-specific lubricant instead, and save the WD-40 for loosening rusted bolts.
- Lubricating the tracks. Tracks should stay dry. Grease in the track collects grit and makes the rollers slide rather than roll.
- Skipping the quarterly lubrication because the door still sounds fine. In Newport News, the humidity breaks down grease quietly. By the time the door sounds bad, the wear has already happened.
- Never tightening the hinge and track bolts. Loose hardware mimics an opener failure and puts extra strain on the motor. A fifteen-minute torque pass twice a year prevents it.
- Trying to adjust or replace a torsion spring. These are under high tension and can cause serious injury. Call a professional.
- Ignoring the bottom weather seal. A worn seal lets humid air into the garage and lets water in during heavy rain. Replace it before it starts to deteriorate the door panels.
- Assuming the annual inspection was done thoroughly. Ask what the technician checked. If they can’t list the springs, cables, and balance test, get a second look.
See the difference
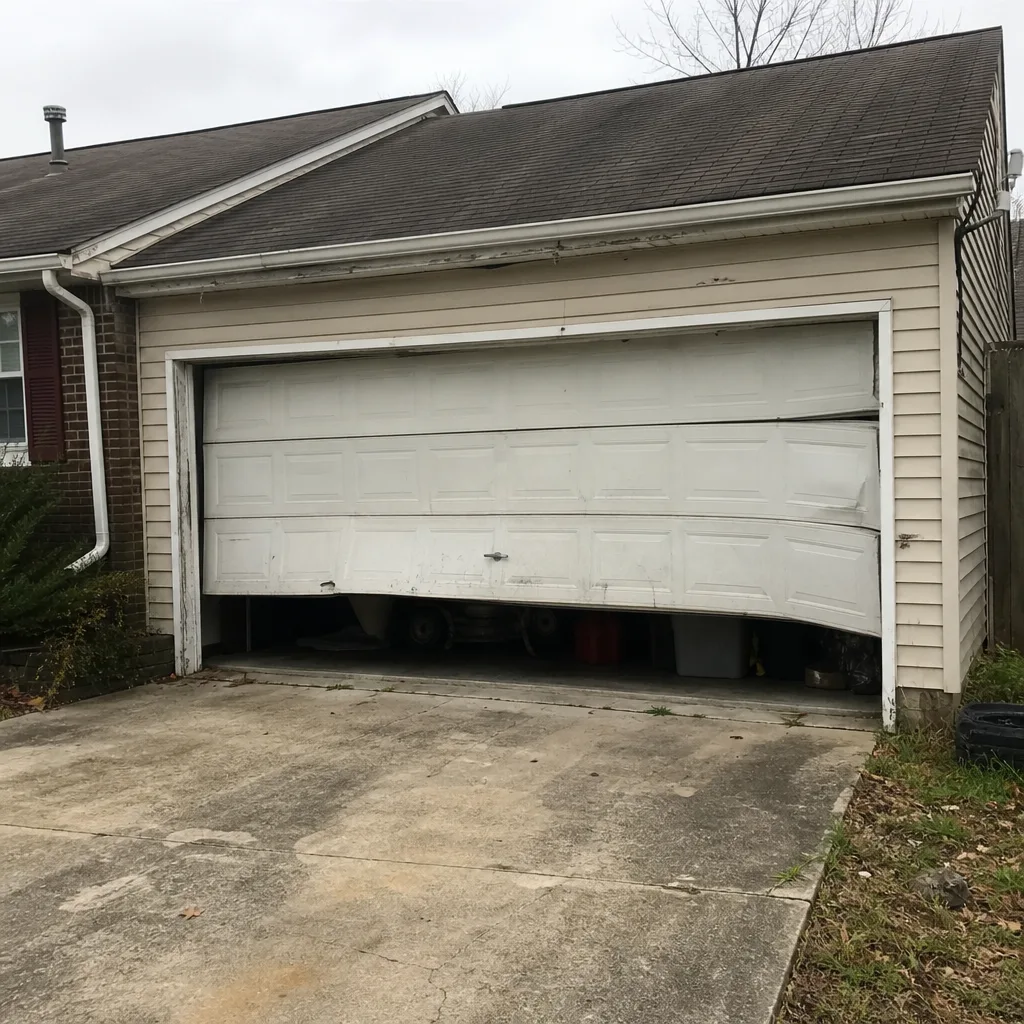 Before
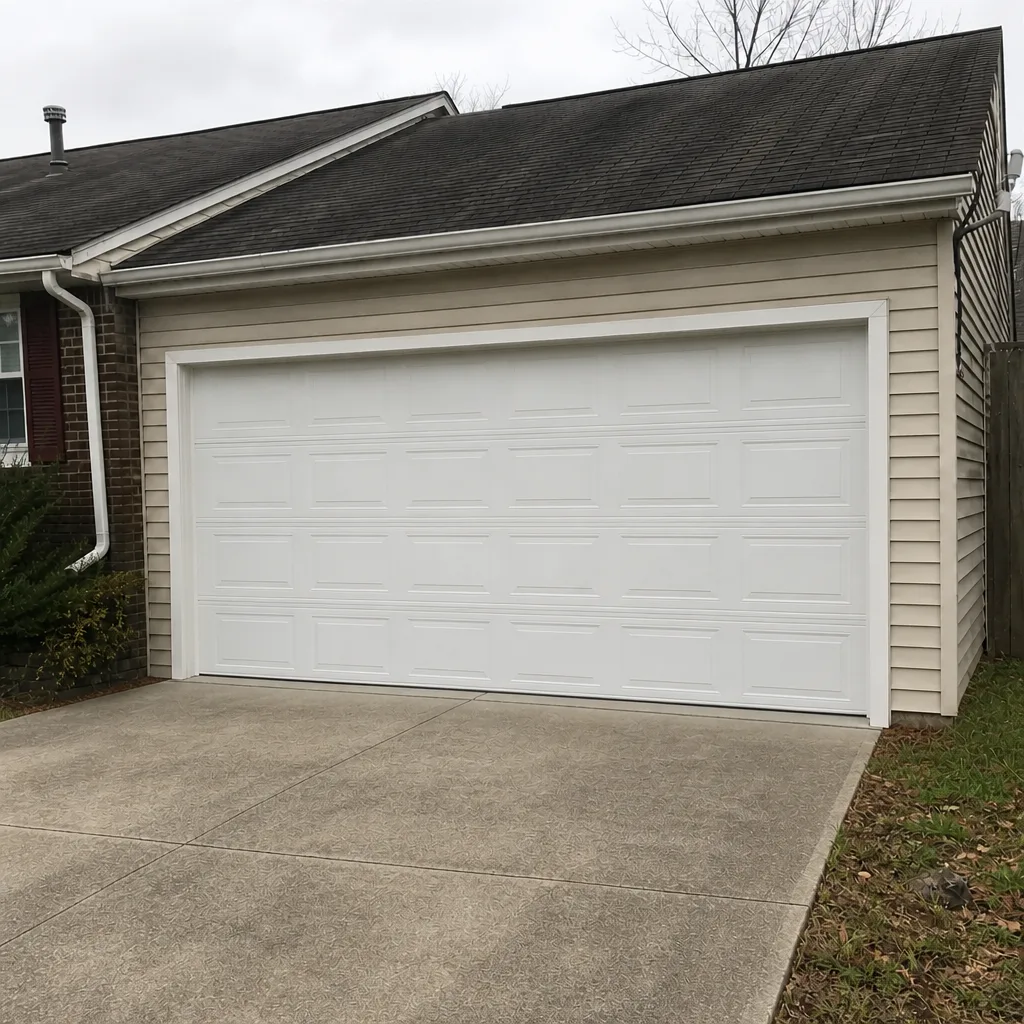 After
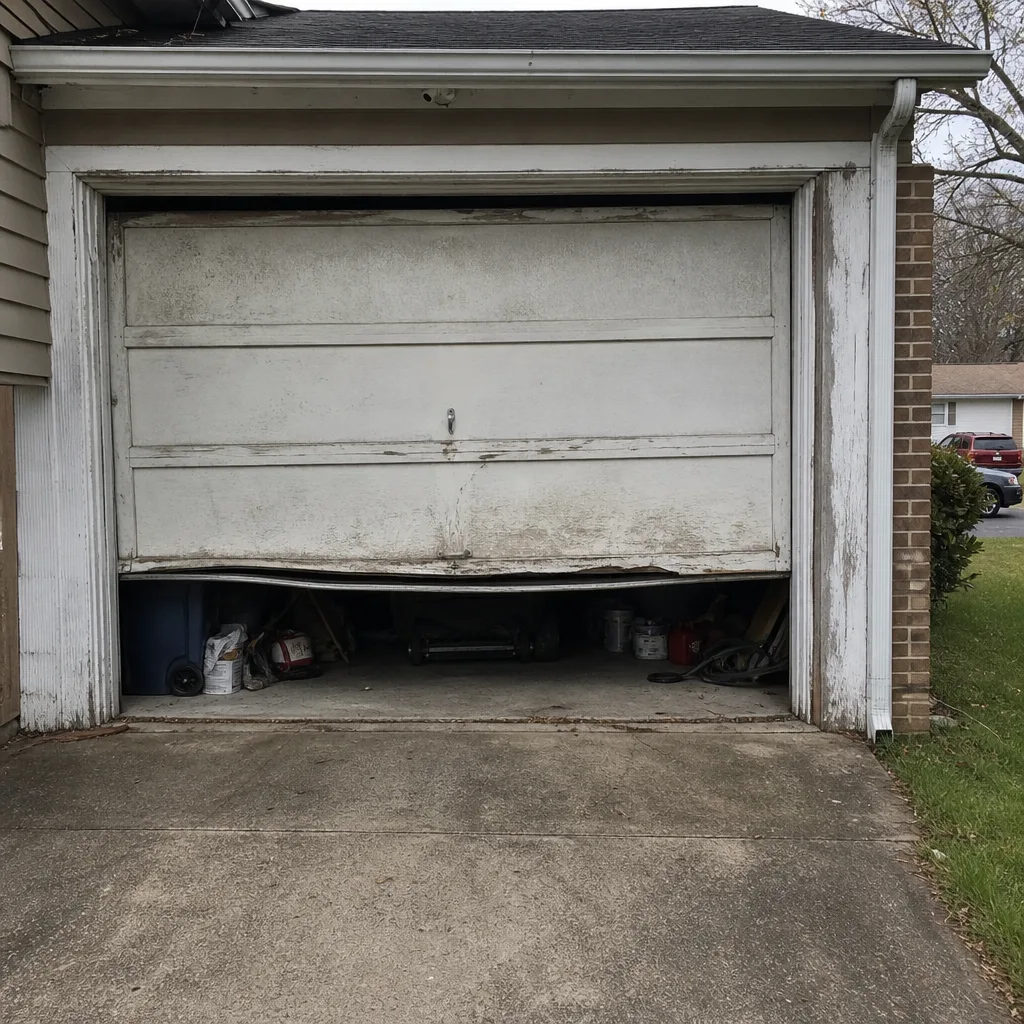 Before
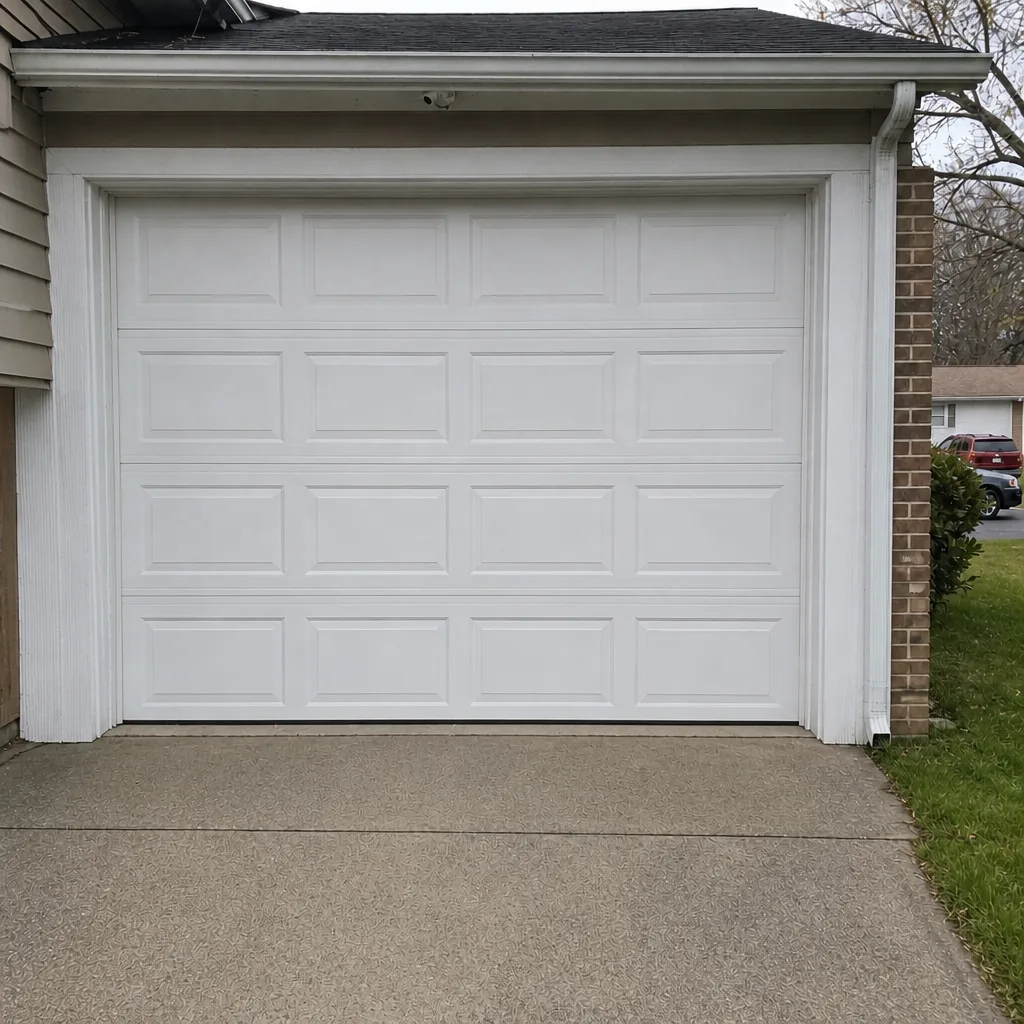 After
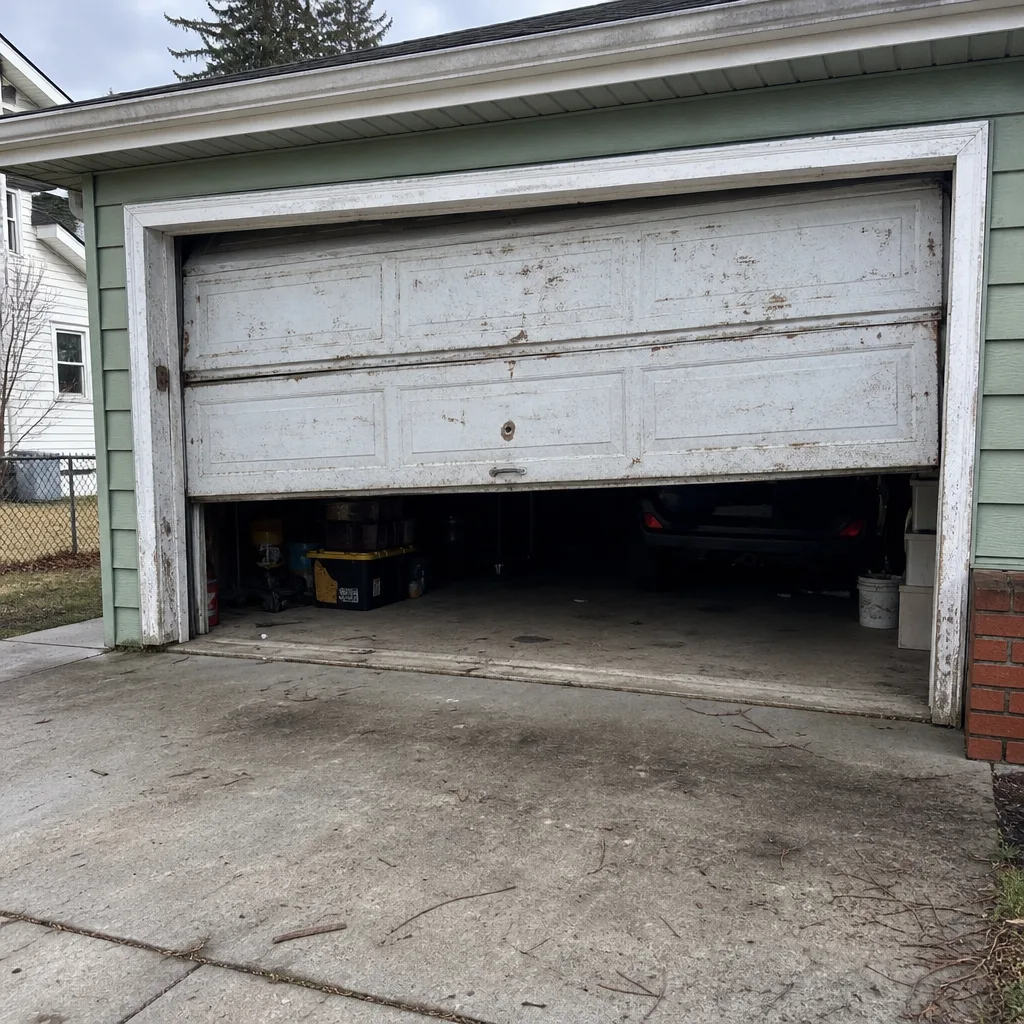 Before
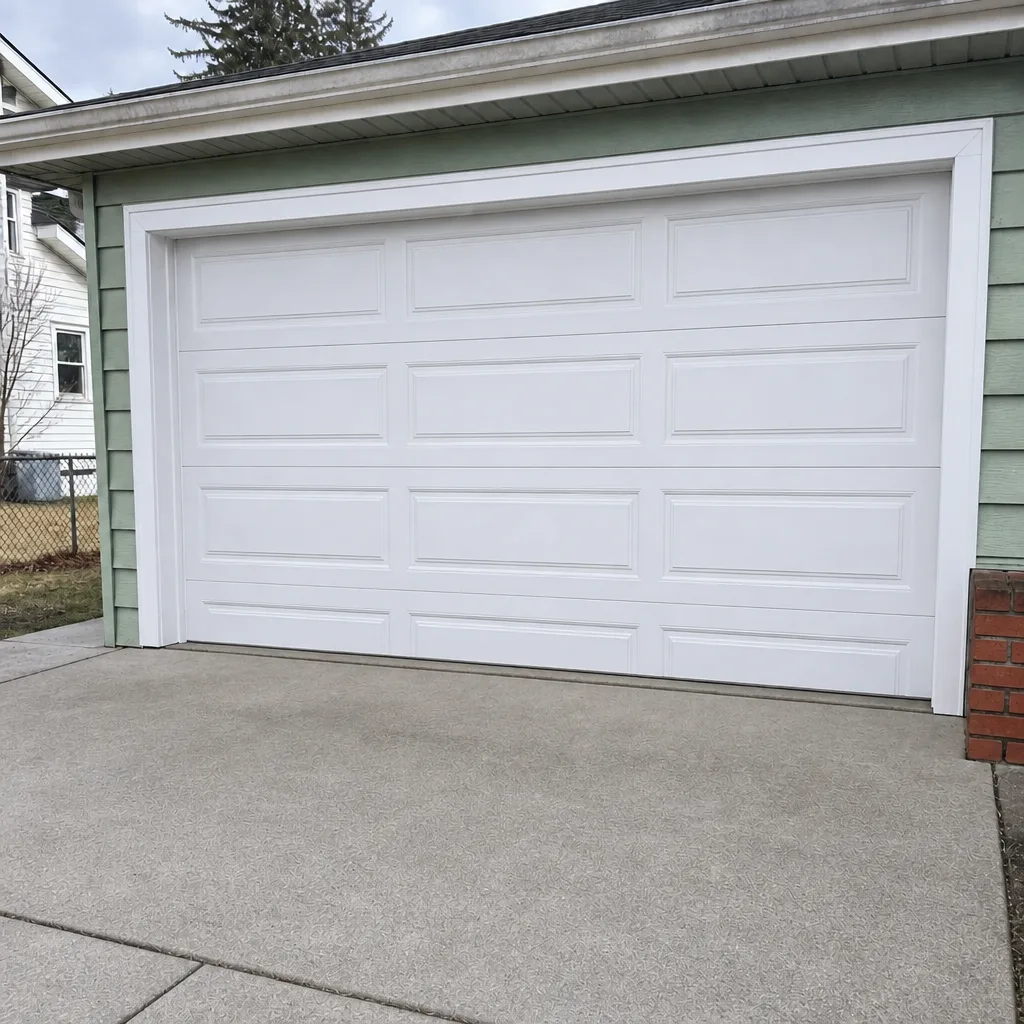 After
When to Call a Professional
Some garage door problems are safe to handle yourself, and some absolutely aren’t. Call a professional if the door won’t stay up when you lift it by hand (springs), if the door is visibly crooked or off its track (cables and alignment), if the opener reverses for no reason (sensor or force limit issue that needs proper diagnosis), or if you hear a loud bang from the garage and find the door won’t open (a broken spring). The same applies if the door has become noticeably heavier, noisier, or slower over a few weeks. A free estimate costs nothing and tells you whether the problem is small or heading toward a bigger repair.
Whitman Garage Door Repair offers free estimates in Newport News, and we handle everything from a single spring replacement to a full installation, so the same company can advise on the right fix and see it through. Call (888) 967-0166. We answer 24/7. Fast dispatch from 7am to 7pm, Sunday through Friday. Garage doors are all we do, which means the answer you get is specific to the door and opener you actually have.
Frequently Asked Questions
Every three to four months, not once a year. The Chesapeake Bay humidity breaks down grease faster than a dry climate would, so a door that gets annual lubrication in Newport News will start to squeak and bind within a season. The heavy lubrication passes should happen in May, before the summer humidity, and in October, before the cold.
Using WD-40 on rollers and hinges. It’s a solvent and water displacer, not a lubricant, and it strips the grease the door needs. It also attracts dust that works its way into the moving parts. A garage-door-specific lubricant lasts longer and keeps the rollers rolling instead of sliding.
Typically five to seven years, depending on how often the door is used. Standard springs are rated for around 10,000 cycles, and a household that opens the door four times a day uses about 1,460 cycles a year. The humidity in Newport News shortens that estimate, since corrosion creates stress points on the coils.
No. Torsion springs are under high tension and a broken or improperly released spring can cause serious injury. This is one of the few jobs that should always go to a trained professional. A specialist can confirm the right spring for your door and replace a matched pair safely.
A manual cycle test with the door disconnected, a visual examination of springs, cables, drums, and bearing plates, a roller and hinge check, track alignment, opener safety system tests, and a weather seal check. You should also get a written summary of what’s fine and what needs attention. If a technician skips the manual test or can’t tell you the condition of your springs, ask for a second look.
No, but it catches the problems that are cheap to fix before they become expensive. Regular lubrication, hardware tightening, and annual inspections extend the life of springs, rollers, and the opener, and they catch wear before it turns into a failure. Springs and cables still wear out eventually; the schedule just makes sure you’re not surprised by it.
The Bottom Line
A garage door maintenance schedule only works when it matches how the door actually ages in its climate. In Newport News, that means quarterly lubrication instead of annual, a pre-summer humidity prep in May, a post-summer inspection in September, and a hardware torque pass in April and October. Springs should be checked for cycles and corrosion at least once a year, and the opener’s sensors, force limits, and batteries need their own attention. The tasks themselves are simple; the value is in doing them on time. For a door that’s due for a proper inspection, or a repair you’d rather not tackle yourself, we’re a phone call away.
Call (888) 967-0166 for a free estimate. We answer 24/7. Fast dispatch from 7am to 7pm, Sunday through Friday.
Learn more about Whitman Garage Door Repair, our garage door repair service, and garage door opener repair for the Newport News area.
Written by the team at Whitman Garage Door Repair, serving Newport News since 2014.